

You are here – a new Reduction Linocut

We were headed for a warm and wet Autumn. Toward the end of March I was driving home to Maleny from Brisbane. Rain followed me up the Bruce Highway, along Steve Irwin Way, then up the hill from Landsborough toward home. I couldn’t resist the urge to detour along Mountain View Road to see if the iconic Glass House Mountains were visible through the rain fog and cloud. They were. And they were beautiful in all their moody and picturesque profile.
As I am want to do I took photos as a reference and from there I went on to create my new ‘You are here’ reduction linocut.
It was great to be back carving and printing after months of forced respite with Ross River Virus. I started carving this linocut in early-September, printing the final 13th layer 20 days later.
How the layers unfolded
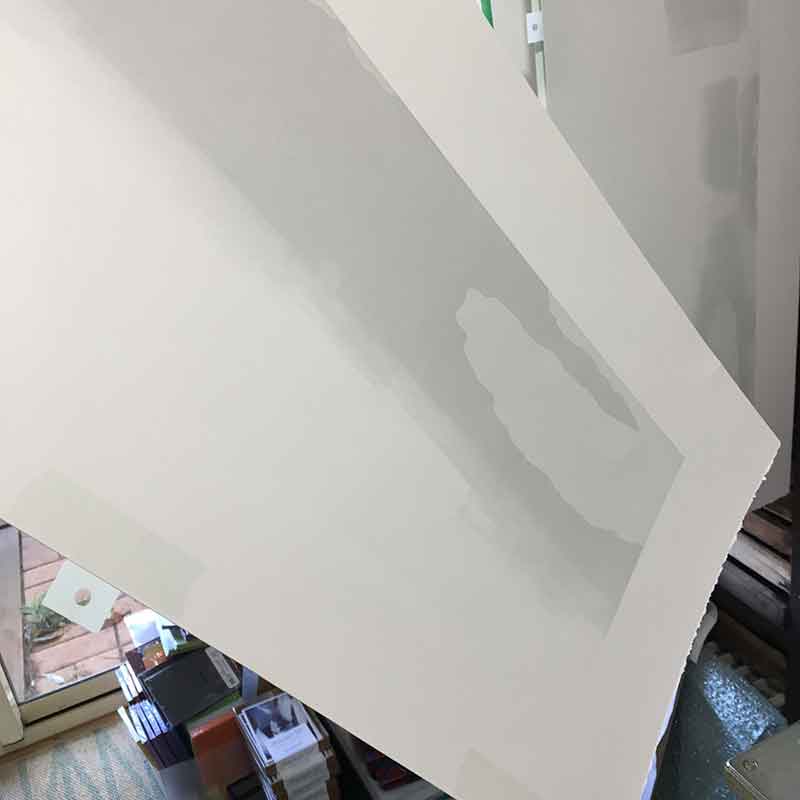
There was no ‘white’* on this print, so no carving as the first colour and layer went down. This reduction linocut was going to reveal itself with layers of solid, flat colour.
*to clarify – by ‘white’ I mean paper colour. Where I carve away on the block before I print the first colour.
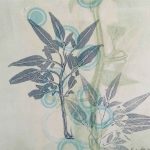
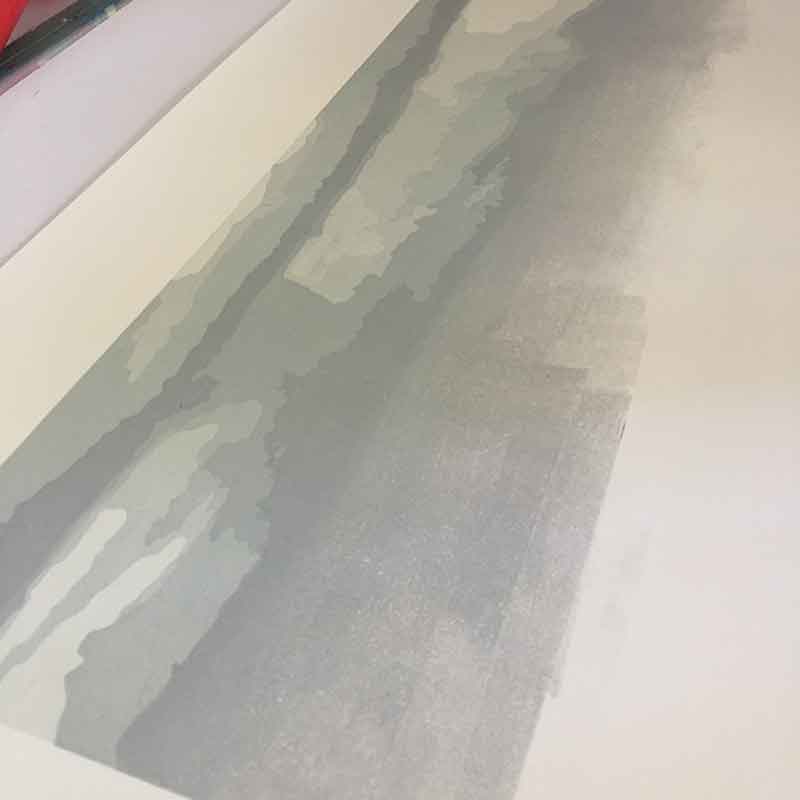
Getting started with the first layer

A lot of the process for this print followed a similar vein as my ‘After the rain’ reduction linocut … I worked with an almost monochrome colour palette, exploring subtle shifts in colour and tone.
The colour and tonal variations were working to tell the story of the image; to express its mood and atmosphere.
As I plan out my colours I look to see where I can take an ‘efficient’ approach to the layers; how can I achieve maximum colour with minimum layers? Depending on the nature of the image I’m trying to obtain, sometimes there in no alternative than to print each layer, or colour, on its own; no blends and no multiple colours per layer. I admit that this can be a tedious process, but I love it all the same. Carving then printing the layers, layer upon layer, is part of the joy of the reduction process.
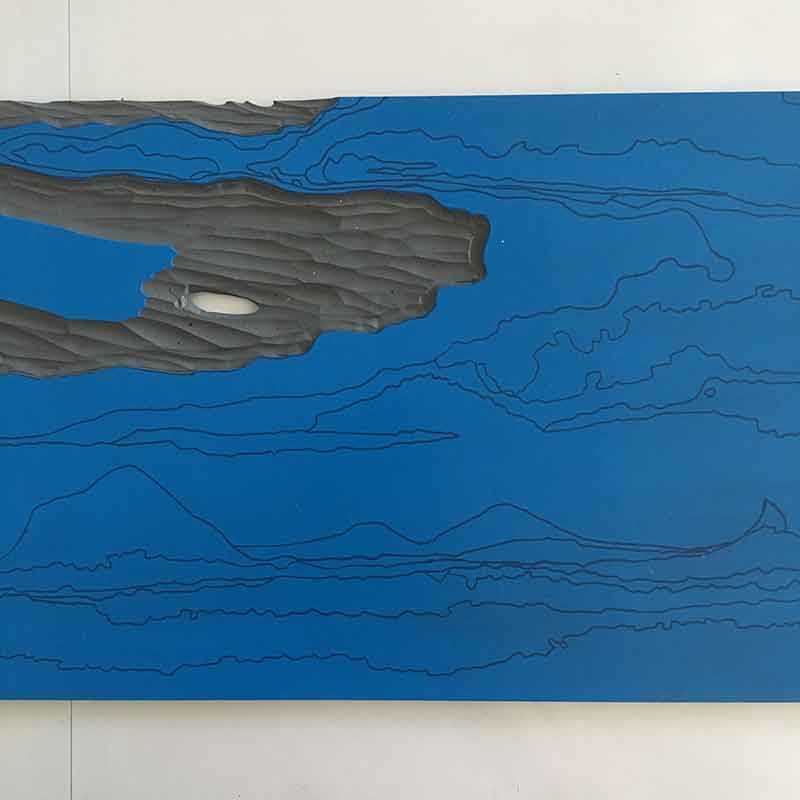
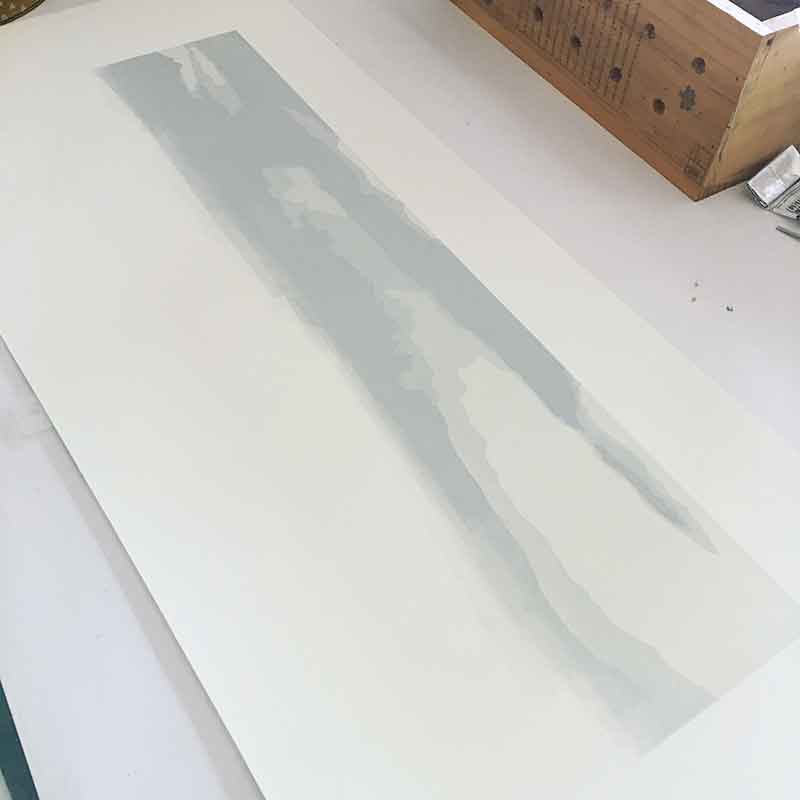
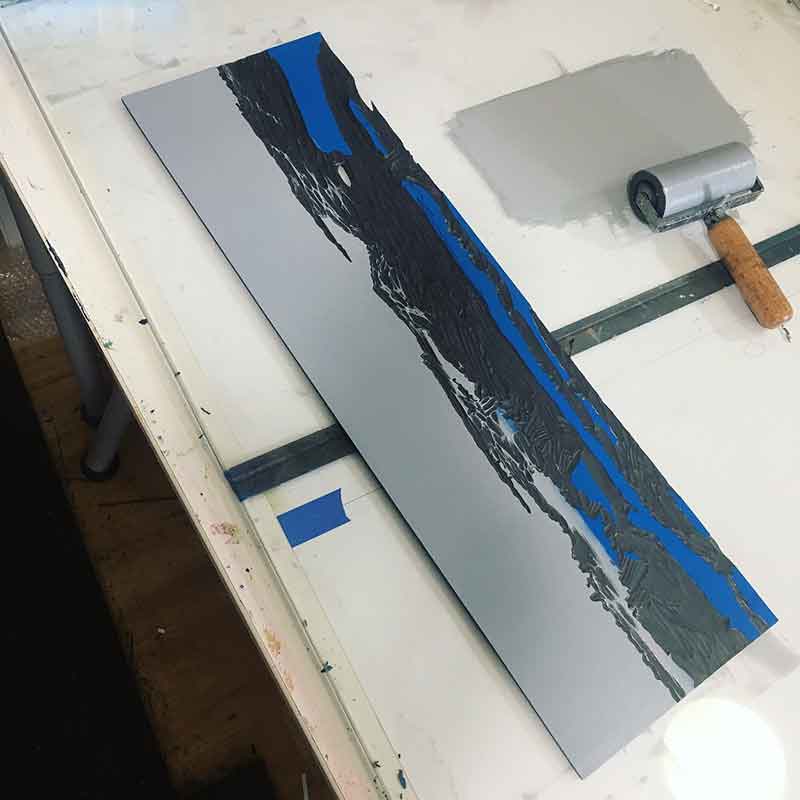
Layer 2

I didn’t ink the entire block with each layer – I focused on the sky vs foreground mountains as inking areas. Inking the areas of colour to be exposed by the next layer meant I could be efficient with the ink. But it is important to think about how inking vs not-inking parts of the block may impact subsequent layers. For example – will not inking the entire block interact with the next colour printed on top?
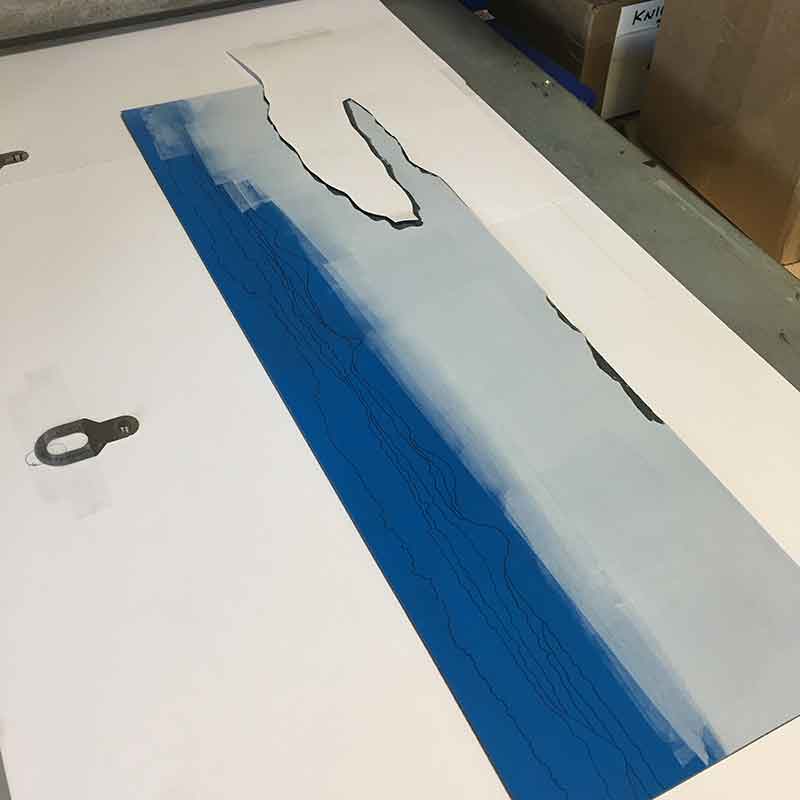
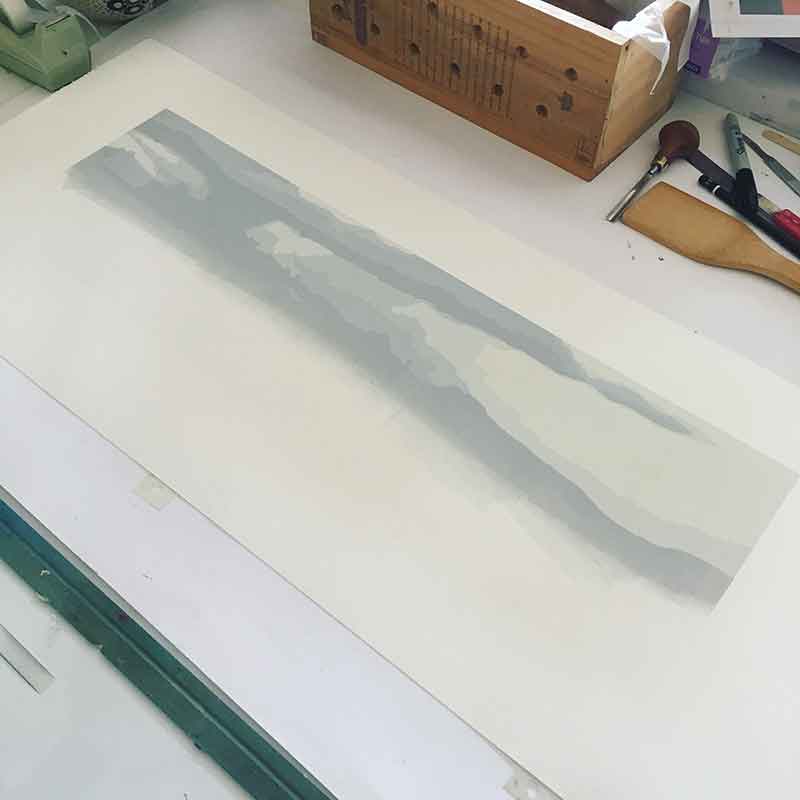
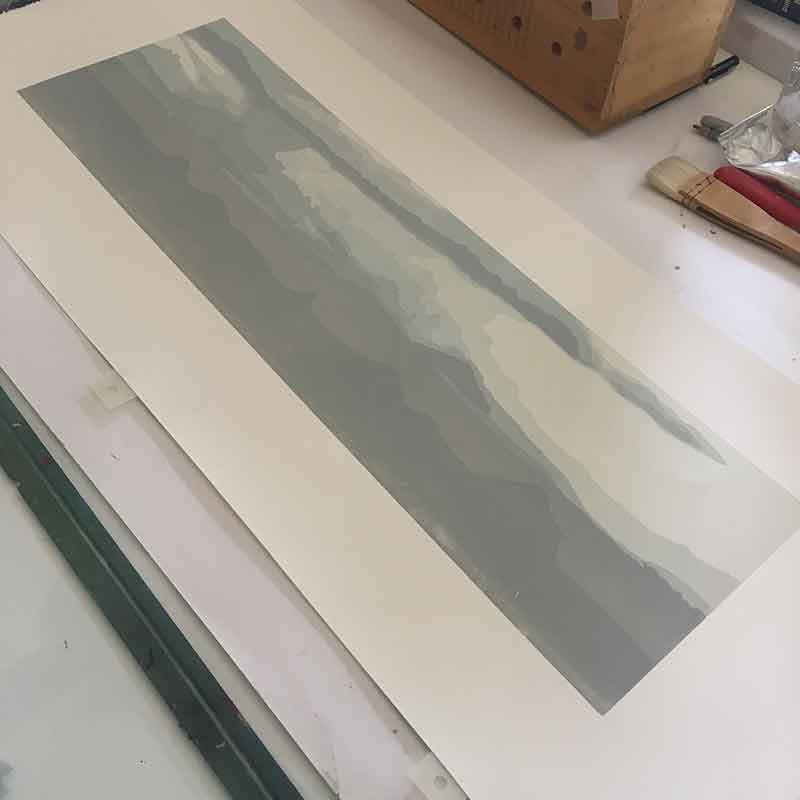
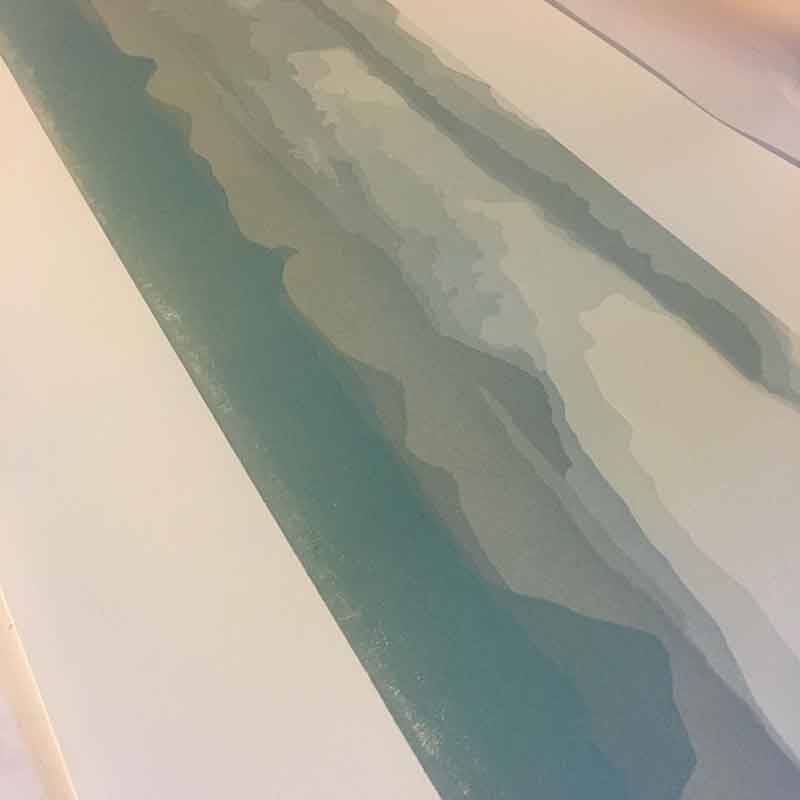
Layers 3, 4 and 5
Once printed, I blotted each layer with newsprint. This works to remove excess ink from the paper, helping the drying time. Plus I can blot more in some areas of the print and create a lovely mottled or graduated effect.
And this is where it is important to think beforehand about where you do or don’t roll ink. By not inking the entire block with each layer, and because I was heavily blotting some layers, removing excess ink, there was the risk of variation as the layers interacted with each other.
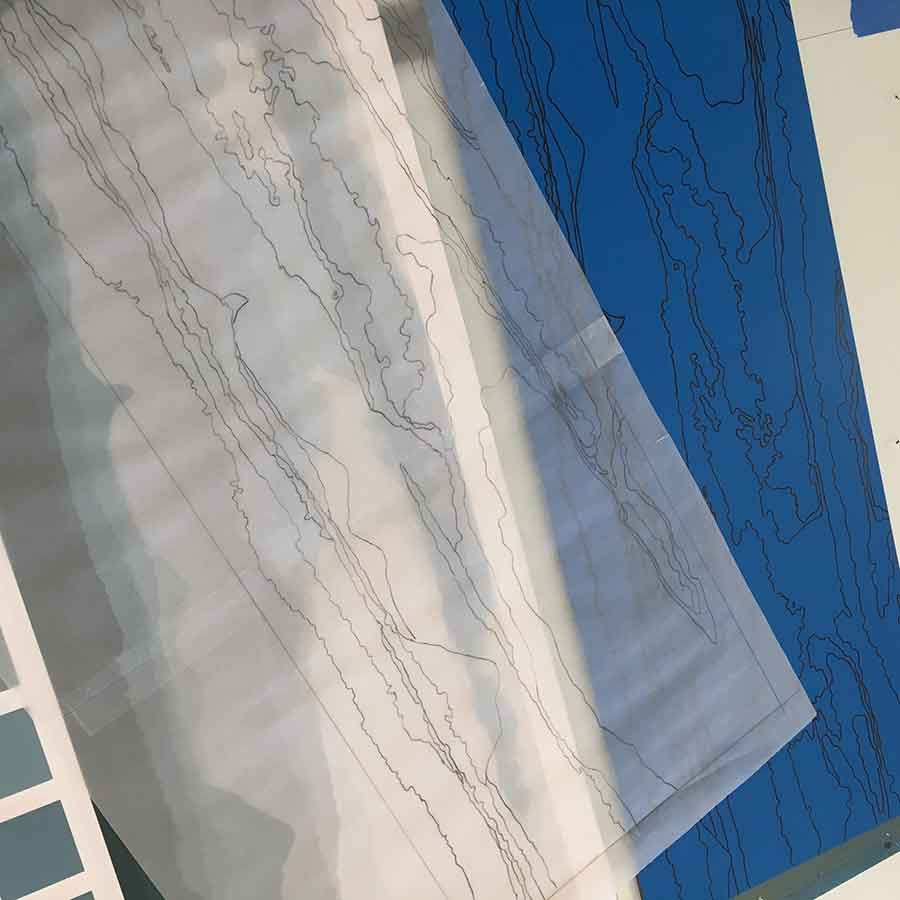
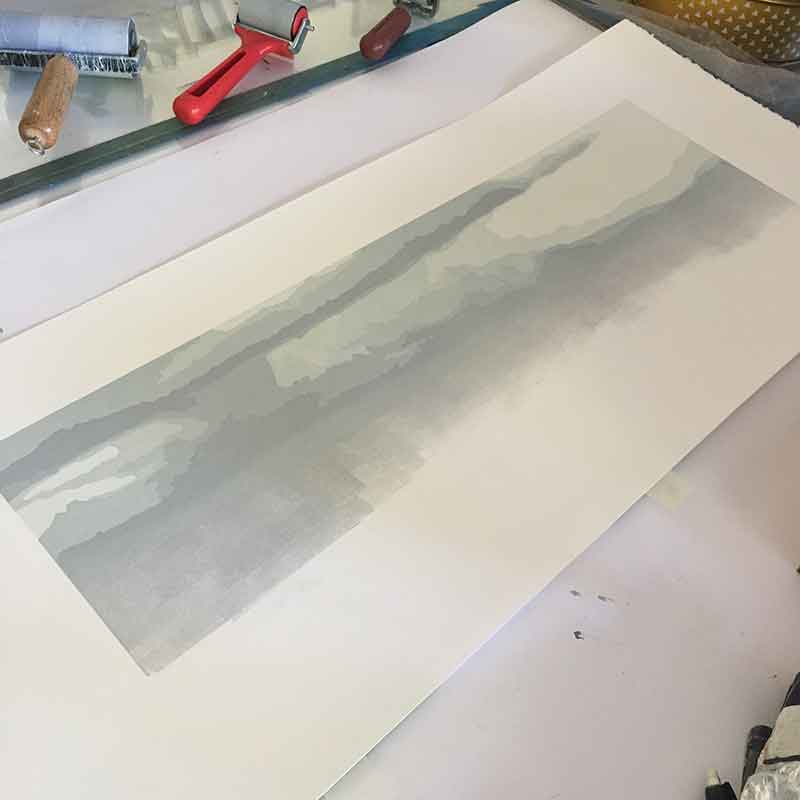
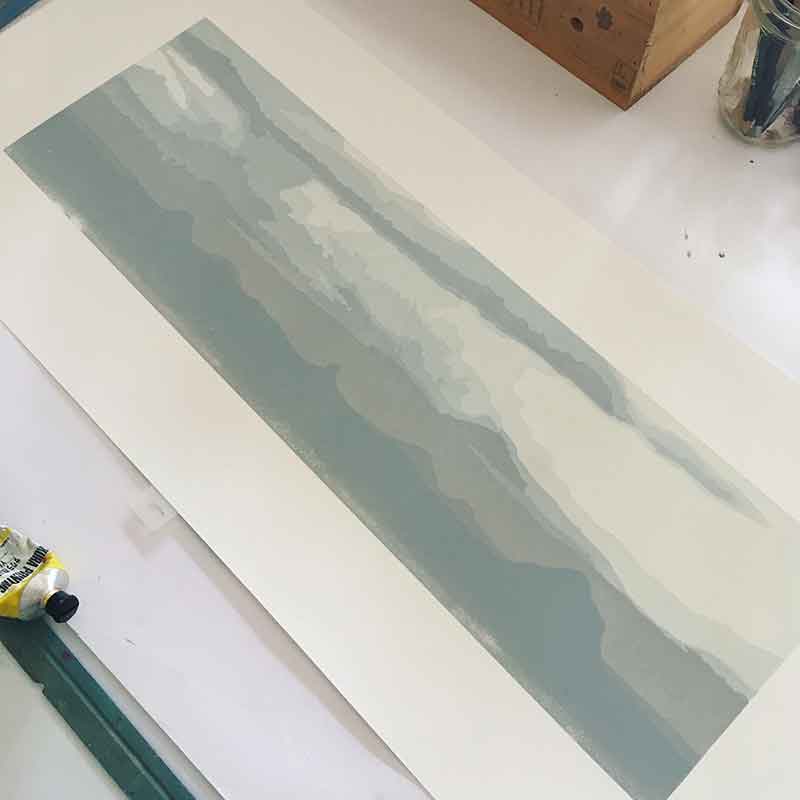
Layers 6 and 7
Once I moved from the background sky to the Glass House Mountains profile, I used cartridge paper to mask carved and printed areas of the block. This meant I didn’t need to carve away all the previously printed areas, meaning the integrity of the block was kept in tact. By ‘integrity of the block’ I mean that I didn’t alter its overall shape, ensuring it would continue to fit into my registration jig as I carved through all the layers.
I use a 200gsm good quality cartridge paper for my masks. The thickness of the paper enables me to use the one piece for printing that layer in the edition. If any ink starts to show through the mask, I place some sticky tape over that ink area so there is no ink transfer through the cartridge paper mask.
Layers 8, 9 and 10
I accidentally carved away the top of Mt Coonowrin, aka Mt Crookneck, on the previous layer. I didn’t realise I had done it until I was ready to print the following layer. Thankfully I did see it! That mountain has a very unique profile in the family of Glass House Mountains and the image would have been missing something important had I not seen it in time.
The best way I could see to resolve the problem was to carve a little ‘mountain summit’ and effectively stamp it in place. I still had some of the previous ink colour left, and I was happy with the end result.
Layers 11 and 12
The Mt Coonowrin summit was fixed and sorted. The sky and mountains printed. Now to print the foreground mountain range between the Glass House Mountains and my viewing spot.
I really enjoyed working with subtle shifts in colour. I found the sky and mountains colours relatively easy to resolve. Moving into the foreground mountains presented some challenges with which way to tint the colours, to really bring the foreground to the front and push the Glass House Mountains further back in the image. I’m happy with the end result. I think the colours share the tone of the afternoon … warm and wet with heavy cloud lifting.
The 13th and final layer
I don’t know how far away, as the crow flies, the mountains are from where I was observing them, but I hope that I have been able to create a feeling of depth and distance in my linocut print.
I enjoyed this view from a ridge overlooking the Glass House Mountains from Mary Cairncross Scenic Reserve. On a clear day you can see Brisbane in the distance (approx 85km away). The Reserve is a beautiful rainforest reserve. I was afforded the privilege of showing some of my work at a recent exhibition with the Maleny Printmakers at the Reserve.
It was this vantage point that leant me the name for this print … ‘You are here’. Naming work can be tricky. The Mary Cairncross Scenic Reserve is a very popular spot with tourists and locals alike. They come to enjoy the rainforest park, and the views of the mountains and beyond. ‘You are here’ is a location marker, synonymous with parks and directory maps; but also as the viewer of any image or artwork, it is where you are.
The Glass House Mountains are an iconic collection of ‘magma intrusions’ in the Sunshine Coast Hinterland. They are effectively part of my own back yard. I love where I live, and I love learning more about the area as I create my work. I printed a 16 layer reduction linocut print ‘Glass House‘ at the end of 2017. These mountains will continue feature in my work.
Below is a 5 minute video about the geology of the Glass House Mountains. It plays at the Mary Cairncross Scenic Reserve too. It is a great overview about the creation and geology of the mountains.
‘You are here’ reduction linocut print technical Information
Print process – reduction linocut print
Edition Size – a Limited Edition of 11, plus 1 Artist Proof and 1 Hors de Commerce.
Colours and layers – 13
Inks – Sakura oil based inks. Yummy!
Paper – Stonehenge White. Still my favourite for reduction linocut prints.
Size – 60cm x 18cm
Tools – Pfeil carving tools and my trusty glass Print Frog barren
Interested in buying one? Unframed prints are available on my website. The original print is available framed from Montville Art Gallery and Peace of Green Gallery.
Reproduction prints – maybe? I may opt to print a limited edition of archival giclee reproduction prints of this image. I’ll keep you posted.
Post Update – 3 January 2020
I am excited to share that this print has been selected as a Finalist in the Local Artist Local Content 2020 Art Prize. It was announced yesterday, November 2019. Winners are announced 17 January 2020. I am thrilled just to have been selected as a Finalist. I am in the company of some fabulous artists form the Sunshine Coast.


Kim, thank you so much for sharing how you created this amazing print. I could almost smell your studio space as you walked us through the process. Seeing how the reductive process is done it is so much more than I thought and shines a new light on how I will view prints in the future.
Thanks Stephanie! I love the process. There is a lot to it, but it can be done simple or complex. I err on the complex side. And I do love the smell of my studio … oil inks and papers. mmmmm!