

Printing with Cyanotype on Eggshells!
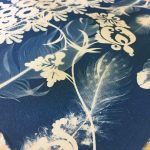
A while ago I wrote about new adventures playing with cyanotype. While the colour range may be limited, what you can do with it is not! I saw a photo on Pinterest where Hannah Lamb had printed with the cyanotype process onto eggshells … I had to give it a go!
I figure I can (sun)print using the cyanotype process onto any surface that will hold and absorb the solution. I have done some experiments where the wet solution held to the surface ok, but washed away when the object was immersed in water (an essential part of the cyanotype process). I’m not one to give up easily, so there is more experimentation on other surfaces to be explored later this year!
However, I DID find that the inside of eggshells held the solution through the washout process. Oh the excitement!

Cyanotype on Eggshells
Step 1 – coat the inside of the eggshells with cyanotype solution
I played around with thick and thin applications of the mixed cyanotype solution. I also played with applying the solution and leaving it to dry over a short (overnight) and extended period (up to a week), to see if that had impact on the end-result.
From what I could see – no.
So I went ahead with applying 2 thin layers of the solution to the inside of each eggshell half, then let them dry in a light-proof box* overnight.
*my light-proof box was a cardboard packing box covered with a thick blanket to stop the light getting in!
Step 2 – how to keep the feathers and shells in place
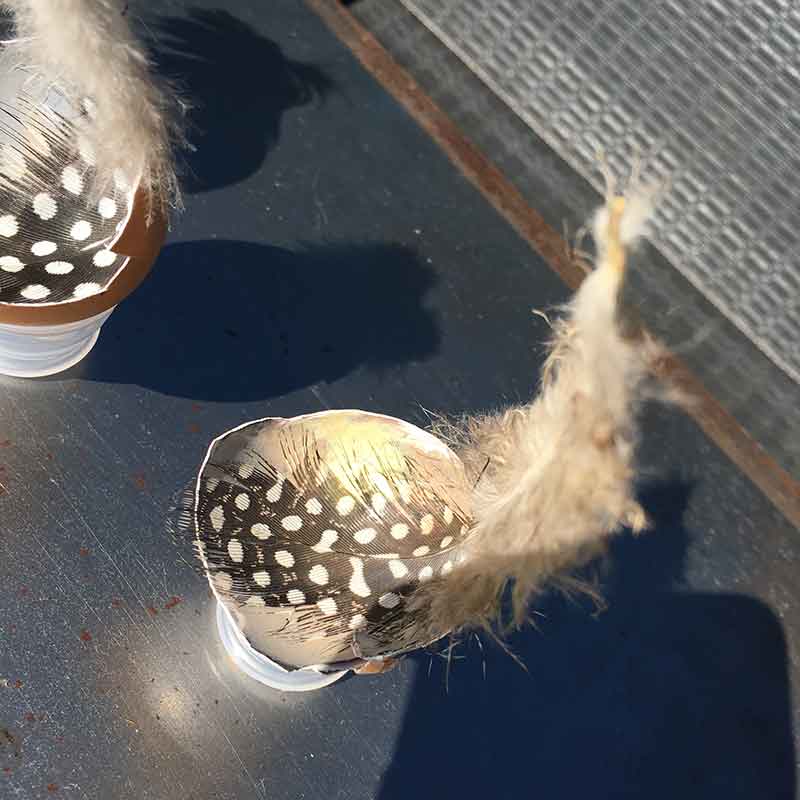
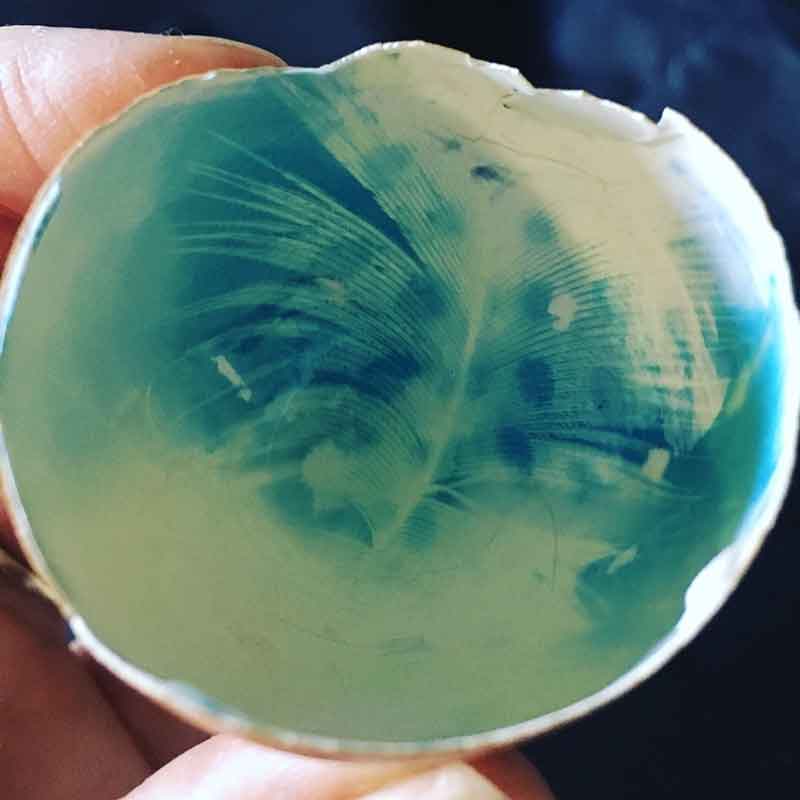
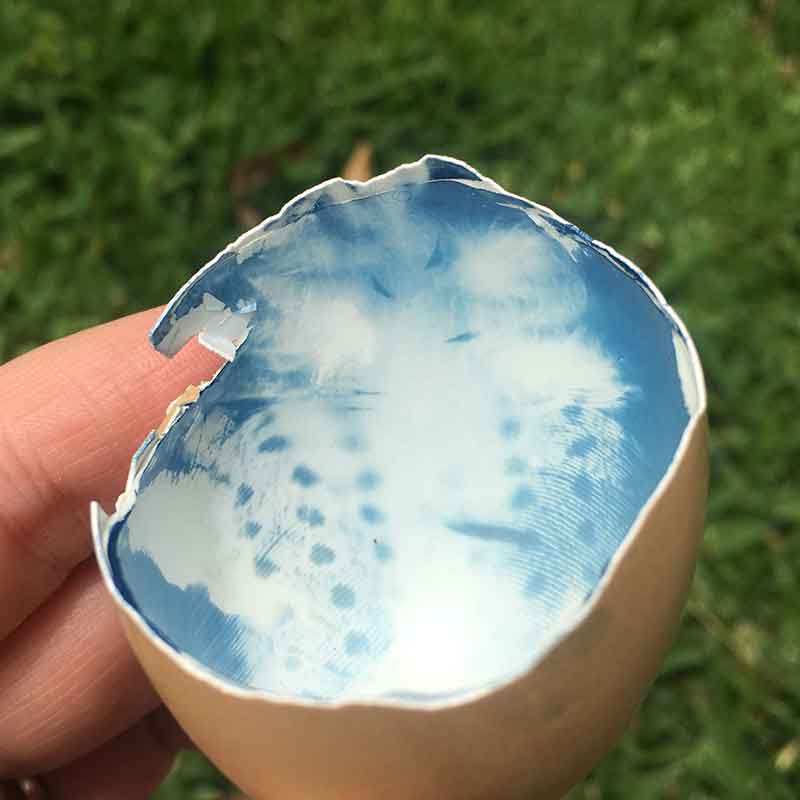
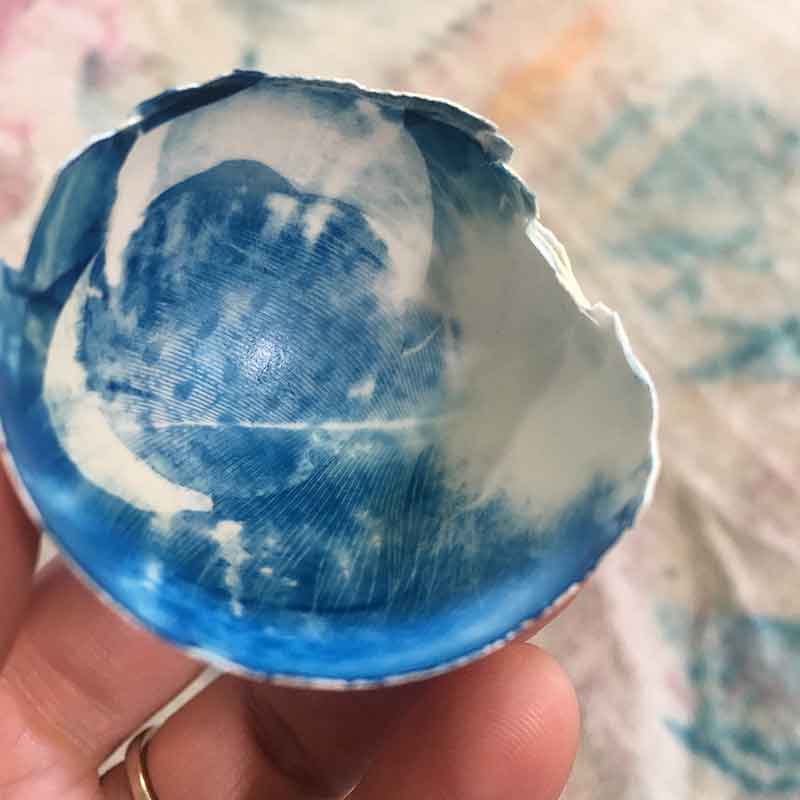
I wanted to capture the fine details of guinea fowl feathers against the inside of the eggshell, so the tricky part was to find a way the bend the feather to the concave shape of the inside of the eggshell. The small guinea fowl feathers were flexible enough, but I needed to fix them in place with some tape and glue-dots to capture the fine details of the feathers.
Step 3 – exposing my eggshells
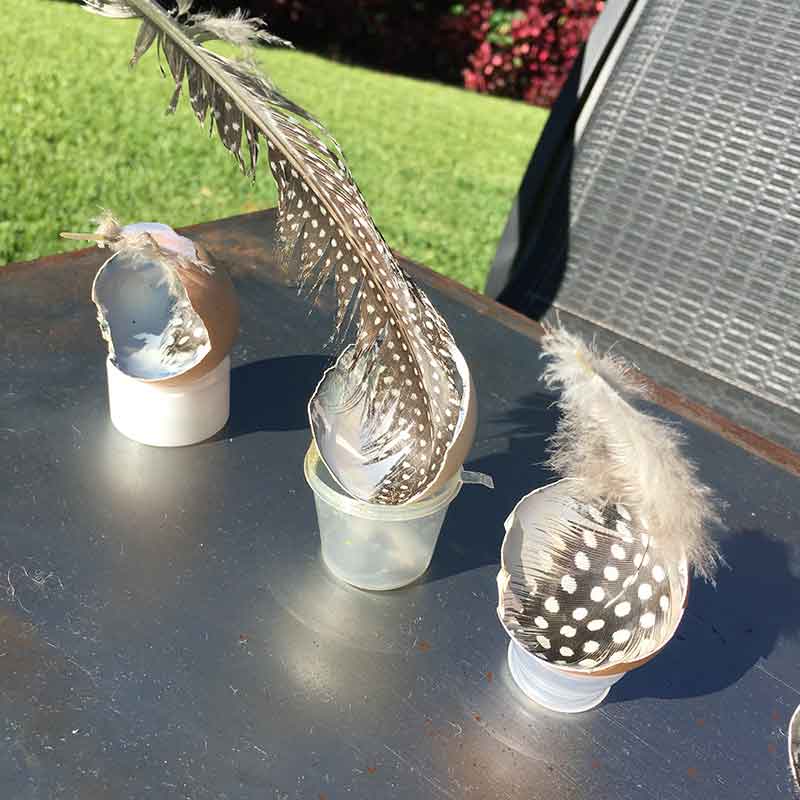
With feathers fixed I was ready to expose to the sun … now how to stop the eggshells rolling around during exposure, while ensuring I could get as much sun as possible inside the shell. I didn’t have any egg-cups, so I was on the hunt for anything circular that could hold the eggshell. The middle of sticky-tape rolls worked perfectly! As did some takeaway sauce containers. And I used some scissor handles too.
I held the eggshells in their respective circular holders on an angle (directed toward the sun) with blutac. This made sure they didn’t move around in the breeze.
I didn’t take note of the exact amount of time I left them in the sun. It was in the full sun of April morning when I exposed these eggshells, so summer-moving-into-autumn sun. I know it was at least a 30 minutes exposure.
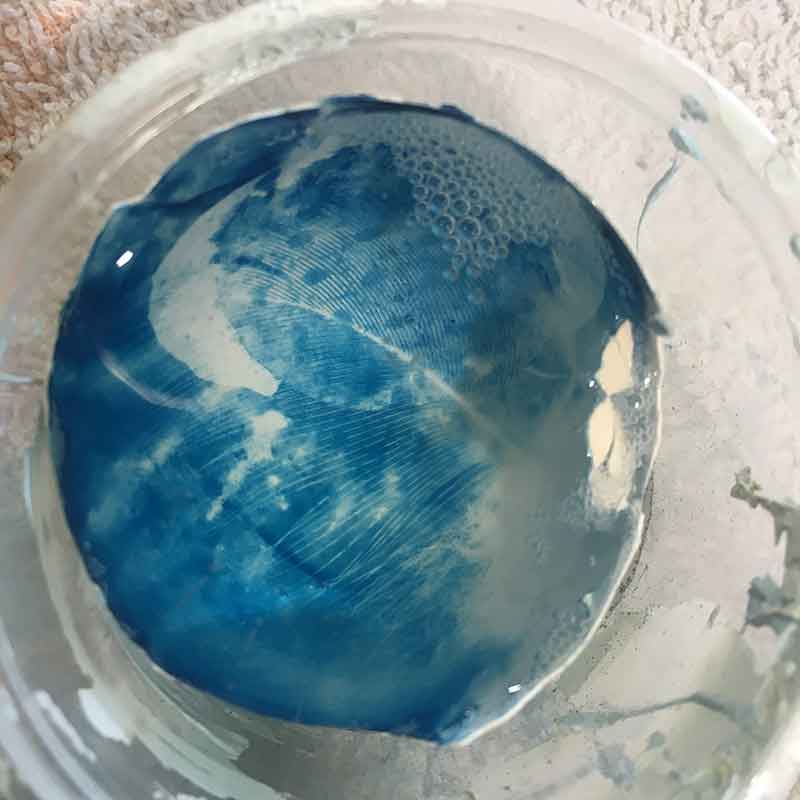
Step 4 – washout
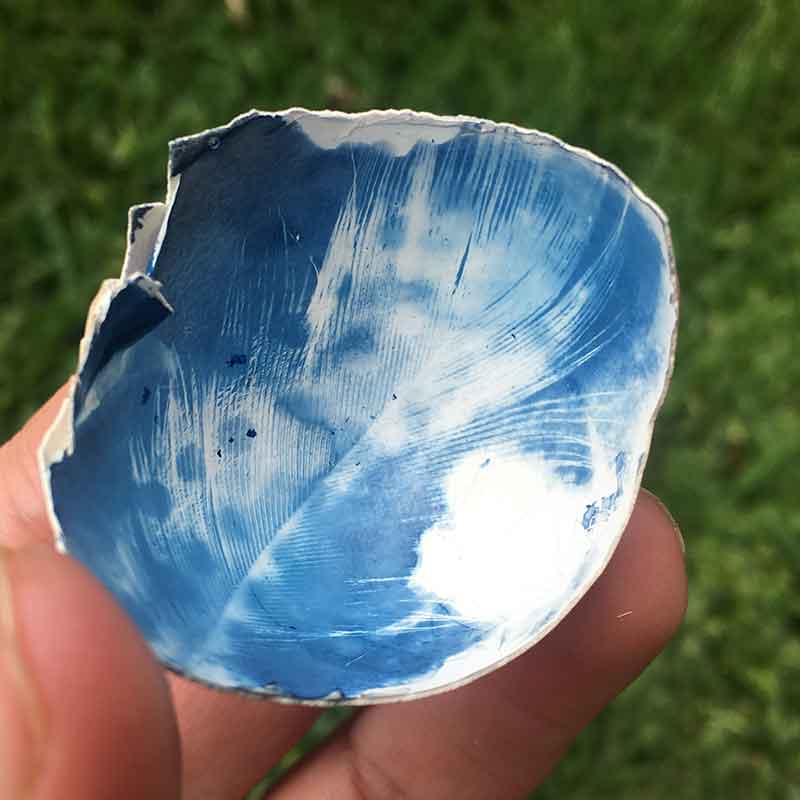
I find the cyanotype process is both beautiful and frustrating! Blue is my favourite colour, so the end result is comforting to me. The range of blues that the process creates in each step is simply beautiful. The frustrating part is that you can’t maintain most of those blues once the printed piece has dried.
You can see in the photos above that the shells with the feathers stuck in-place have taken on a dark dusty blue colour during exposure.
After 30-45 minutes I removed the eggshells from the sun, took out the feathers, and placed them into a small tub of water.
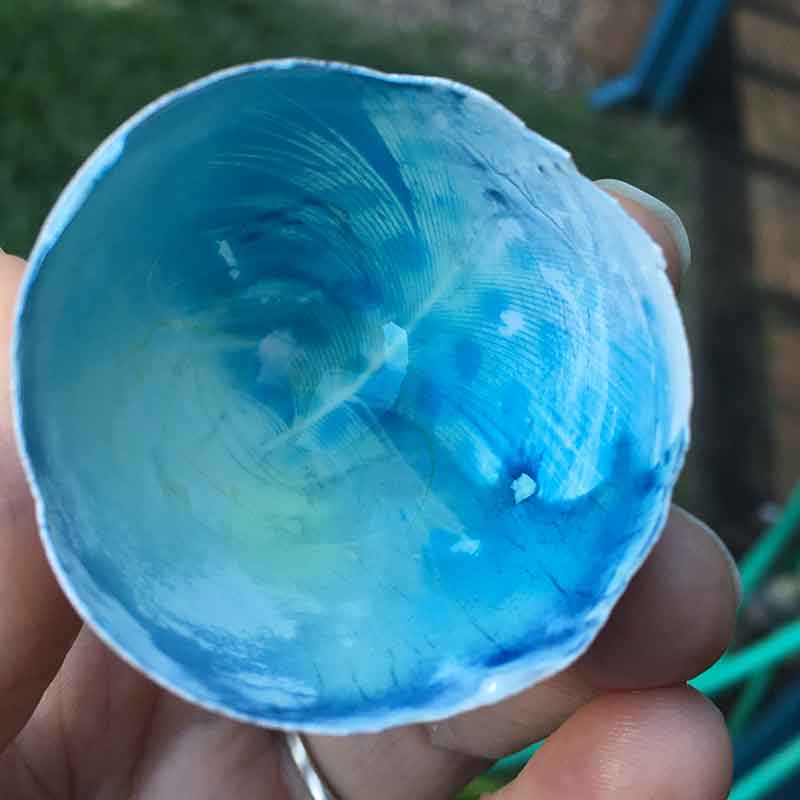
The blues changed to a bright, delicate shade. I wish they would stay that way!
I also gently washed the inside of each shell under running water after soaking for them about 10 minutes.
The bright blue persisted for a few hours, then started to fade as the shells dried.
I left a few shells in the tub of water for several house to see what would happen. In those shells, most of the solution washed out and the image was very pale and yellowed. That image also continued to fade, once dry, over several days.
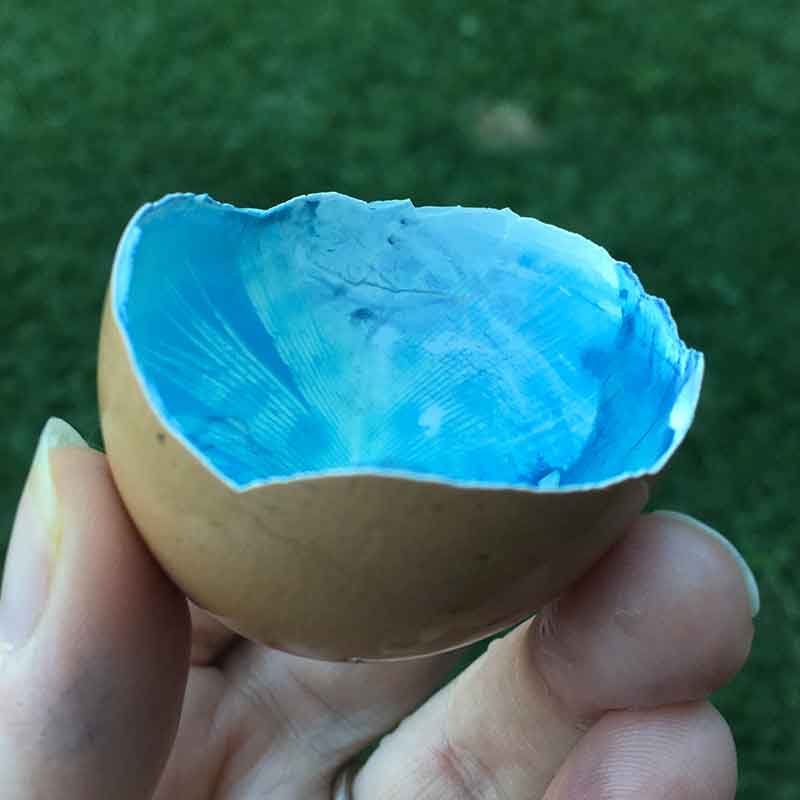
The colour in all of the eggshells continued to change, slowly, over the coming days as the shells dried out. They shifted from that bright blue to a more ‘normal’ cyanotype blue. Still beautiful and delicate with the captured feather marks.
Some final words
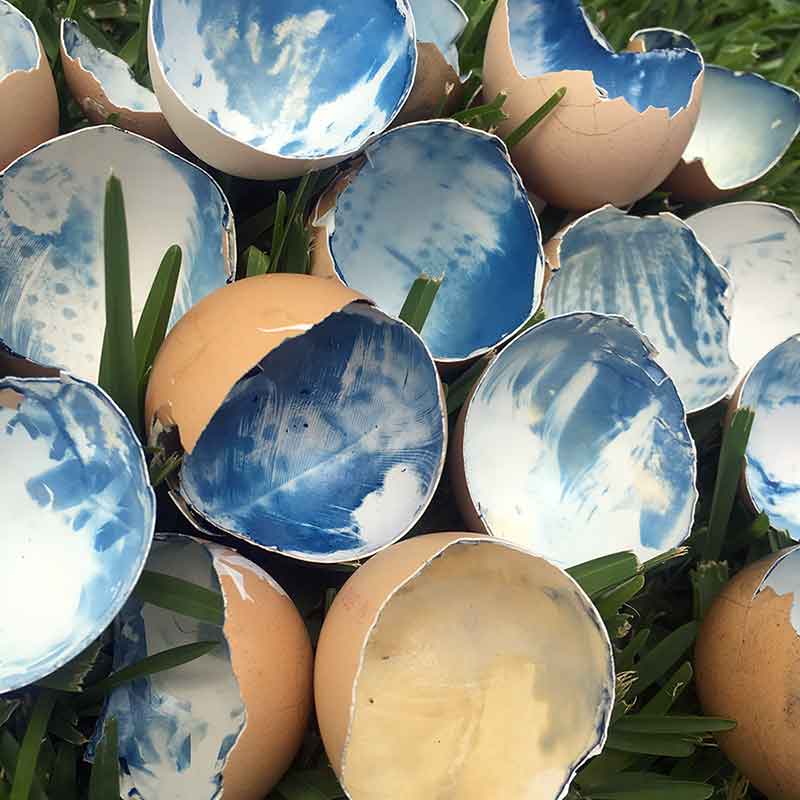
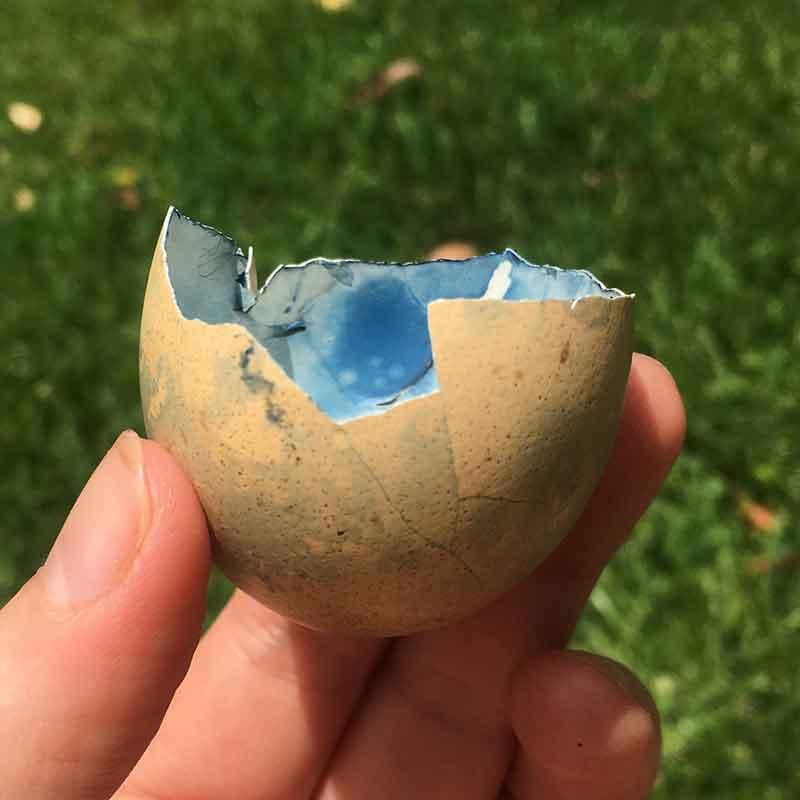
I played with both brown and white eggshells. Some with and some without the membrane still intact inside the shell. I found that the membrane held the solution better than just the shell alone. As long as I was careful with it in the washout phase, the membrane remained intact and blues looked great.
You’ll see in the photo of clustered shells below an eggshell with a washed out brown colour inside. I think that was one of the shells I left in the washout tub for a day or two, so too much of the cyanotype image washed out.
I also had a go at printing a cyanotype image on the outside of the eggshell. The chemical held itself on the shell when I brushed it on, and exposed well, but as soon as it hit the washout stage, the chemical solution washed away. You can see some residue left on the shell, but no real definition. I’ve not given up on this idea yet – more experimentation I think is needed to see if I can get it to work.
Addendum – December 2018
What happens when you add vinegar to the cyanotype process? I am experimenting with enhancing, toning and staining cyanotype images; and this includes soaking dried cyanotype prints on paper in vinegar. The results are lovely.
So, obviously, I had to have a go with it on one of my eggshells.
I sat the eggshell in a small container and filled the shell with vinegar. I used straight vinegar, no water dilution. I left it for about 20 minutes. I wasn’t sure about leaving it longer than that as I know that the acidity of the vinegar can affect the shell; and I could see bubbles forming on the surface while it was soaking.
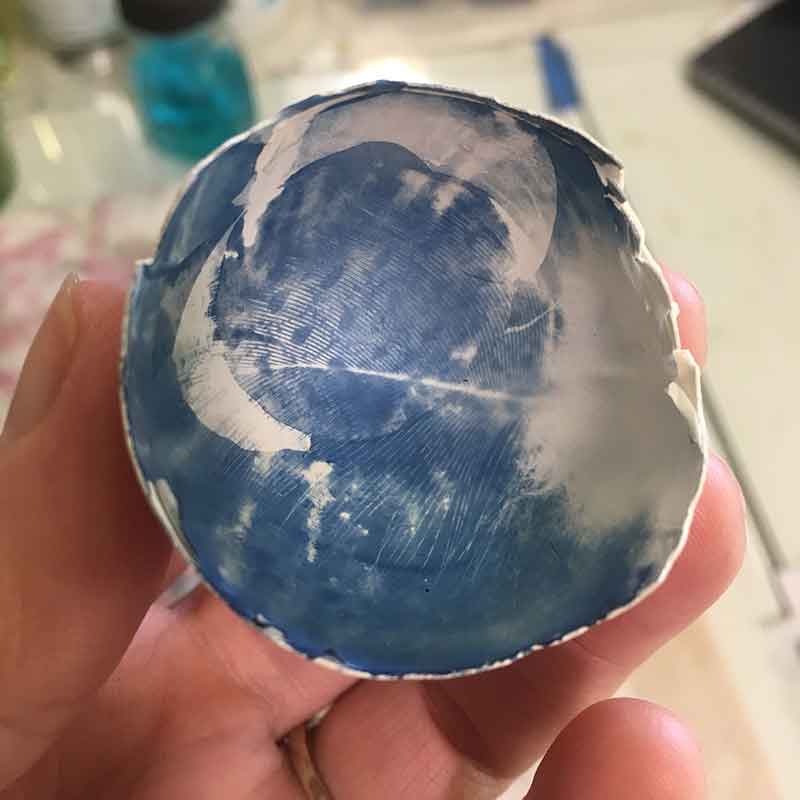
The first picture below shows the eggshell, 8 months on from its original exposure, before its vinegar bath. The 2nd picture shows the shell filled with vinegar – beautiful intense, bright blues.
The 3rd picture shows the shell about an house after I washed the vinegar out of the shell. The blue has intensified, and I think the detail has sharpened a little.
Now on to other cyanotype experiments … wet cyanotype and toning and staining cyanotype prints!
Cyanotype Workshops
I am running cyanotype workshops in Maleny, up in the Sunshine Coast Hinterland. In these workshops you will learn how to create your own cyanotypes and leave armed with a shopping list of what to buy where so you can continue to play with cyanotype at home or in your own studio.
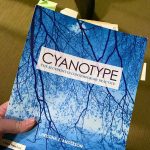
Cyanotype Reference Books
Do you want to learn more but can’t get to a workshop? I have three cyanotype reference books on my bookshelf that have proven invaluable to my own self-education journey around the process. Click through to read what they are and where online you can buy them.


That was a good read, thankyou!
I am wanting to try miniature photographs of teenagers for an art project in college. I have done some cyanotype but never inside eggshells! Friends have collected plenty for me! Any ideas on doing this please?
Thank you , very helpful post.
Barbara Miller
Hi Barbara, I’m glad you enjoyed the post. Good luck !! Your project sounds really interesting. The main suggestion I can make is, given the small space you’re working with inside the shell, to keep your image simple. And maybe print it onto acetate as a negative in a thin strip that will fit the curve of the shell. It may take a bit of experimentation to get the cyanotype exposure timing right 🙂 cheers, Kim
Have you tried hydrogen peroxide on the shells after and or during washing? This intensifies the blue. If there is yellow residue it means it was not washed out all the way or the material can bleed.
Hi Rebecca, yes I have. I love the ‘magic’ and instant response of the HP. I also let them soak in some water/vinegar to sharpen the details. I love what the cyanotype does on the eggshells. So many possibilities.