

Image transfer to a lino block
This is a simple image transfer technique to get a photocopied or laserprinted black and white image to a lino block, ready to carve for printing. The printed image MUST be photocopied or laserprinted. NOT printed from an ink jet printer. Toner used in copiers and laser printers is fused to the surface of the paper as the paper passes through the machine, therefore keeping the toner on the surface of the paper. Whereas ink from inkjet printers is absorbed into the paper.
 This method works by ‘gluing’ the toner printed image to the lino block and rubbing away the paper. If you use an ink jet print, you will rub the image away with the paper, as the ink image is absorbed into the paper.
If you are using a photocopied image, you may want to do a quick test first. The toner used in photocopiers (and laser printers) varies, and some will perform better than others.
I print my black and white images on a Brother A4 HL-2270DW series laserprinter. Its a solid and economical unit, and prints double-sided (although not useful for this application). I will admit that I haven’t tried this technique with a photocopy, but I know many people who have, and I know that it does work.
1. Laserprint your image
Print your image on a LASER printer. NOT an ink jet printer. Toner from laser printers is fused to the surface of the paper with heat. Ink from inkjet printers is however absorbed into the paper. It is the fact that the toner sits on the surface of the paper that allows the image to transfer to your printing block that is the magic of this process.
This method works by ‘gluing’ the toner printed image to the lino block and rubbing away the paper. If you use an ink jet print, you will rub the image away with the paper, as the ink image is absorbed into the paper when it is printed.
TIP: Remember to flip your image when you print it, so that when it is lino printed it prints the right way around. This is especially important if you have text or numbers in your image.
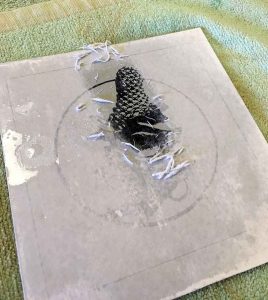
2. Prepare your plate and paper
Now you are ready to glue the image to the lino plate.
Apply a layer of acrylic gel medium to the lino plate and also the printed side of your laserprinted image. The medium doesn’t need to be applied thickly, but enough to cover the surface of both the lino block and paper completely, before sticking them together.
Lay the glue-prepared laserprint over the glue-prepared linoblock and gently press together.
Gently rub the paper surface to smooth out any bubbles or wrinkles.
Allow to dry for about 15-20 minutes before you start to reveal your transferred image, ready for carving.
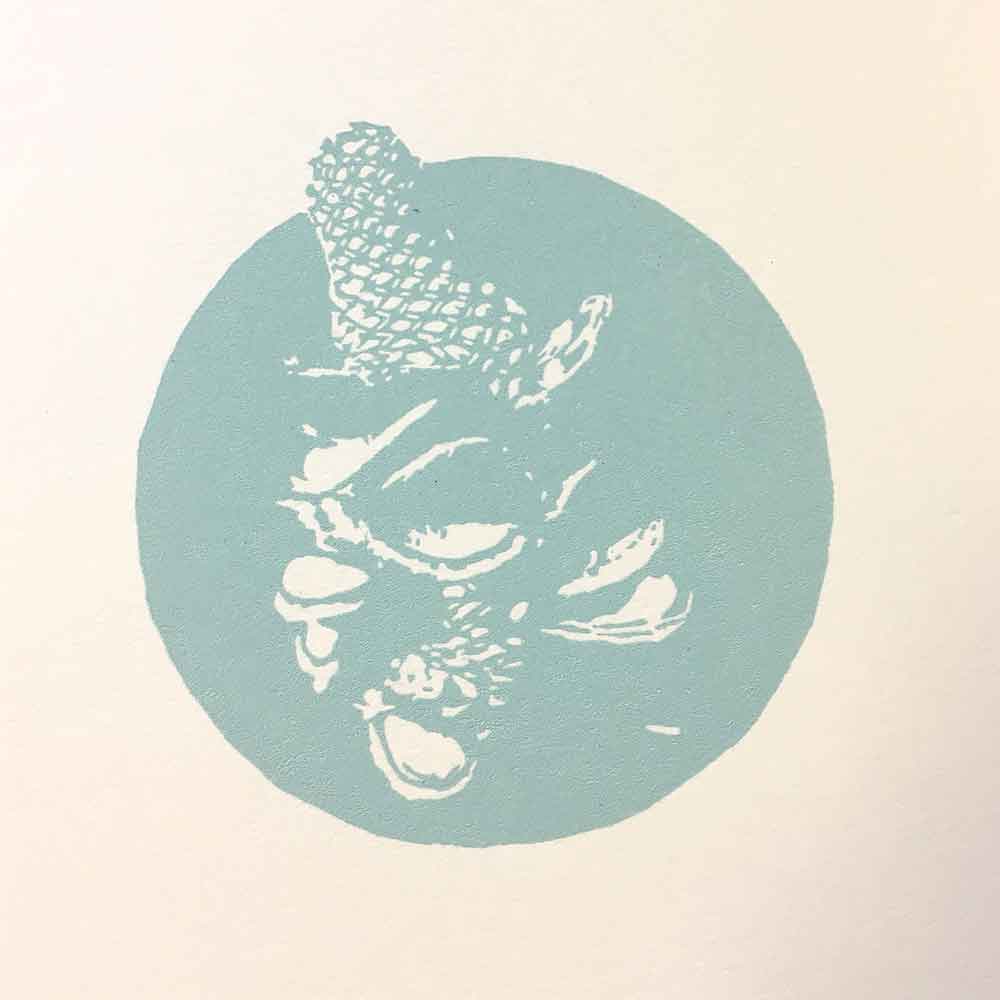
3. Reveal your image
Once the medium has dried enough to bond the toner image to the block, its time to remove the paper.
Lightly dampen the paper – and begin to gently rub with your fingers to remove it. I use a spray bottle with water to lightly spray the paper, then rub with my fingers. You can use a cloth – but be gentle so as to not disturb the toner image sitting just below the surface of the paper. You will get a better end-result if you take your time while rubbing the paper. Simply damped the paper again if it is starting to dry as you rub it away.
Eventually, you will see the toner image reveal itself as the paper is rubbed away. Try to rub as much of the paper away that you can as it will make seeing your toner image easier as you carve your lino block.
4. Ready to carve
Once you have removed all paper and have a clear reveal of your toner image, you’re ready to start to carve your lino block.
Yep, its that simple!
5. Clean your block
The toner and acrylic medium will have left a residue on the surface of your lino block. Clean this off BEFORE you print. Having said that, you can experiment a little and see how your image prints up with the texture on the surface of the lino. You might be pleasantly surprised by the results.
I use acetone or turps to remove the acrylic medium.
If you have thin carved lines or detailed carved areas, be careful as you clean off the toner residue. Rubbing too hard could damage areas you have carved. Again, take your time doing this to protect the integrity of your carved image.
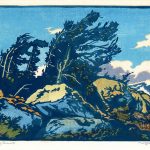
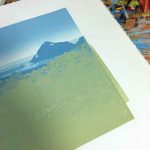
5. PRINT!
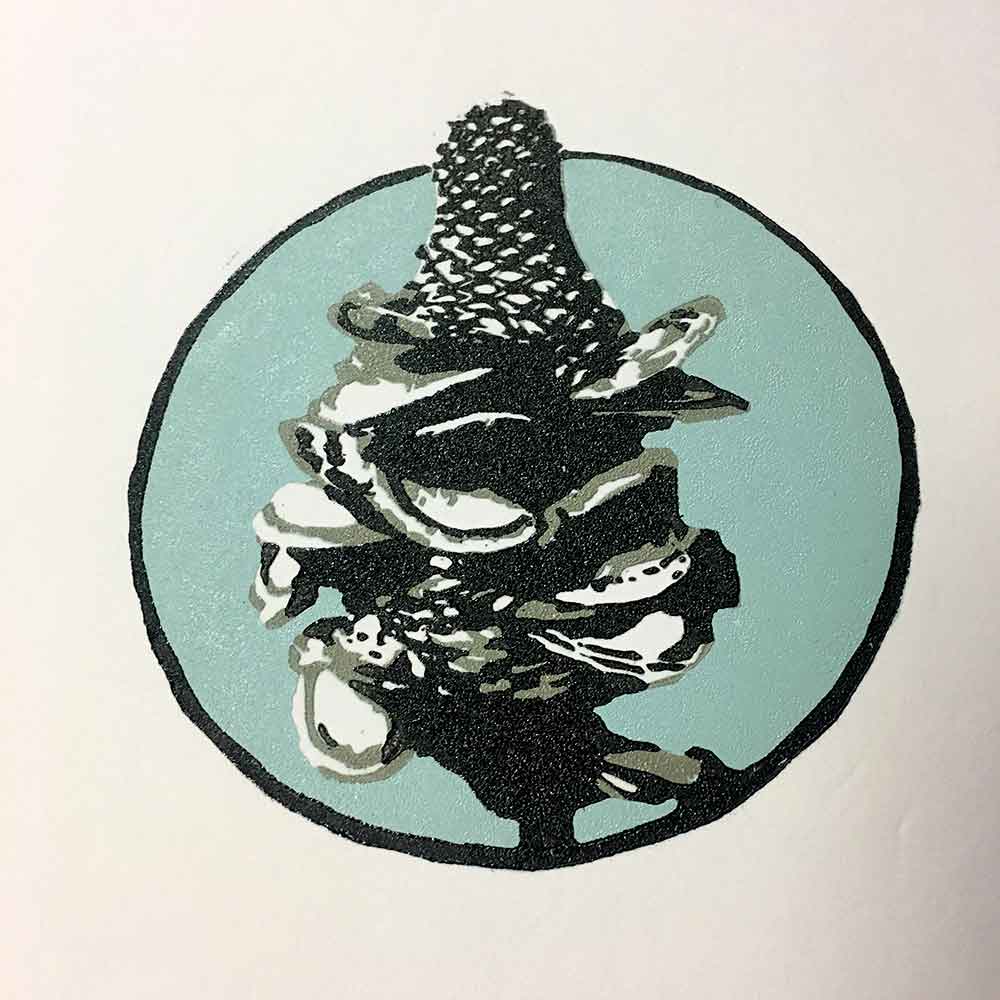
Bush Song is a 3 colour reductive linoprint I completed earlier this year. I used this method of image transfer to prepare my lino block for carving.


Hi, I was just wondering if you could recommend a gel medium? I saw in the comments that PVA wasn’t guaranteed, but have no idea what I’m looking for! I’ve seen this one on amazon (UK based) – PEBEO 100 ml Studio Acrylics Mediums Matt Gel, Transparent, 524210 … is that the correct sort of thing to look for? Any recommendations would be appreciated! Thanks! 🙂
Hi Lisey, I use Derivan Matisse Mid Viscosity Binder Medium. It can be used as a varnish and ‘glue’. I’m not sure of an equivalent. I have to admit that that’s what I first used and have continued to use, so not experimented with alternatives. Where are you located? I think Derivan is an Australian brand. I hope that helps 🙂 cheers, Kim
I must confess I was a bit sceptical, but I’ve just tried it and it really does work. Smells better than laquer thinner too 😉
Just like magic 🙂 I’m happy it worked for you. cheers, Kim
OK, so I’ve been having some followup problems. First attempt to transfer a design worked pretty well, but subsequent ones were a bit uneven. You need to be fairly generous with the medium, I think,
BUT, getting the medium off again is tricky. Too much acetone softens the lino (or it did in my case) rounding some of the cut edges, and making the lines less crisp. I’d encourage anyone using this to experiment carefully on a scrap piece first.
Hi Alasdair, yes, getting the medium off can be problematic. I aim to remove the medium as soon as possible after application and rubbing the paper off. The longer the medium sits on the lino, the harder it will cure. I use the green/blue lino and found that too much acetone or white spirit can eat into the surface layer of that lino. I rarely use this image transfer technique. I generally prefer to trace my image down – it helps me with planning my carving, and connecting to the image.
Thank you for posting! Worked flawlessly!!
YAY! Very happy that you found this helpful 🙂 Thank you for sharing.
I didnt read the comments and mirrored my image and so it will turn out backwards when i print it 🙁 is there a way to remove the image so i can still use the lino? or is it a lost cause?
Hi Melissa, we’ve all been there 🙂 depending how cured your acrylic medium is you may be able to use metho or other white spirits to dissolve the image transfer. Depending on what lino you’re using it may cause other problems. I use the green/blue vinyl – too much white spirit on that and the surface vinyl layer starts to react. I hope that helps?? cheers, Kim
Hi, just a note to say that when transferring images this way, you do not need to flip the image that will be printed with the laserjet — the original image will transfer flipped onto the lino block, proceed to carve, and THEN it will print the right way around onto your paper.
Hi Karen, yes you’re right. It is important to flip the image, if the image orientation is critical. cheers, Kim
Hi, can I use PVA glue? I know it’s not the same, but I’m just starting out and I don’t want to buy too many new things.
Hi Matthew, I’m not sure re the PVA glue. I THINK it may wash away when you use water to rub the paper from the block. Maybe if you let it dry overnight before attempting to rub the paper away, and use very light amounts of water. You don’t want the toner to shift on or in the glue as it sits on the surface of the lino block. Definitely give it a go though! And please let me know if it works or not. cheers, Kim
Hi again, can i just add that your work is wonderful
thanks Tine 🙂
Hi this is really interesting and I am keen to try it but when you are doing a reduction lino print do you paste another copy of the picture back on after each carve and print, so that you know where to continue carving for the next colour? If you clean off the image before printing, or not if you want to see how it goes, there is no reference for the next colours to be removed.
Cheers
Tina
Hi Tina. From memory, with this image, it was simple to work out the next layer. It was only 3 layers for this reduction linoprint, with the first layer being a full Background colour. Generally I trace my image from a reference drawing or printout then tranfer it to the lino block. I use the blue/green vinyl as opposed to the traditional lino. I normally transfer the outline of the first few colours and generally the final black, or darkest colours, to the block. I go over my pencil transfer with a thin permanent pen, let that sit for several hours or overnight if I can. By leaving it sit for a while, the pen permeates into the block. Once the first colour is carved and ready to print I use methylated spirits to clean off the permanent pen – what doesn’t permeate into the block sits on the surface and will transfer to the print if not cleaned off. I reference the lines for the other colours/layers that didn’t wash off with the metho when when carving ongoing layers, and trace more from my reference image and transfer that to the block, repeating the permanent pen process. I print with oil ink and clean up with vegetable of baby oil, so that doesn’t affect the lines left on the block.Also, but drawing down the final colour, it helps align elements that may need adjusting – when I trace and transfer there is inevitably some movement of the tracing paper on the block, so I can be 1-5mm out in some areas. Drawing down the final layer helps make sure that I draw and carve elements in relation to where they are supposed to be. Does that make sense?? Its not nearly as complicated as it may sound.