

Eagles Nest – a new Reduction Linocut

There is something intoxicating about big, fluffy, dramatic, rolling, rumbling cumulus clouds. Especially when enjoying them at altitude.
I live on a mountain range approximately 450 metres above sea level (not high by international standards, but high enough in Australia). I don’t know how high above terra firma these clouds are floating, but it almost feels that by reaching up on tippy-toes you can touch the clouds.

The Process and Layers
I referenced one of my own photos for this linocut – a photo I took driving home late one afternoon (I wasn’t the one driving 🙂 ).
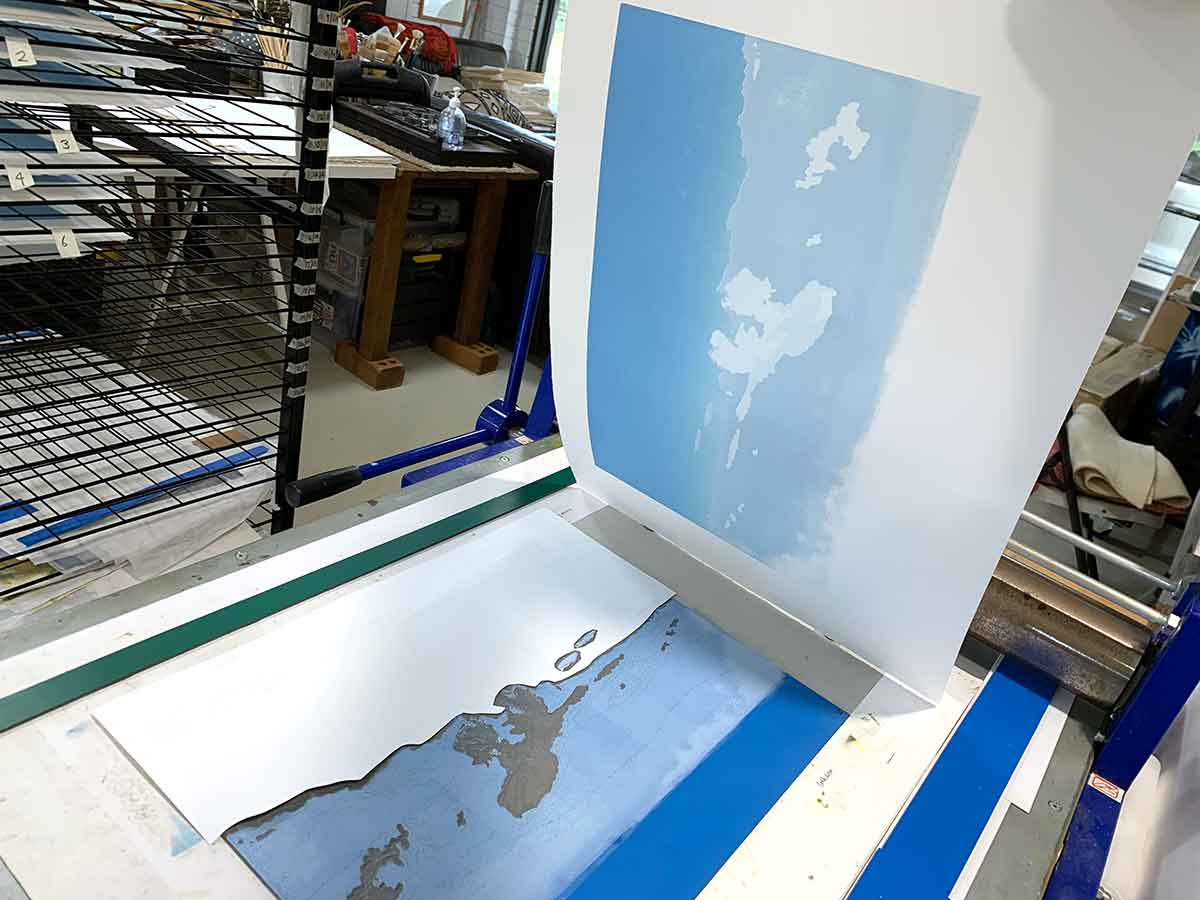
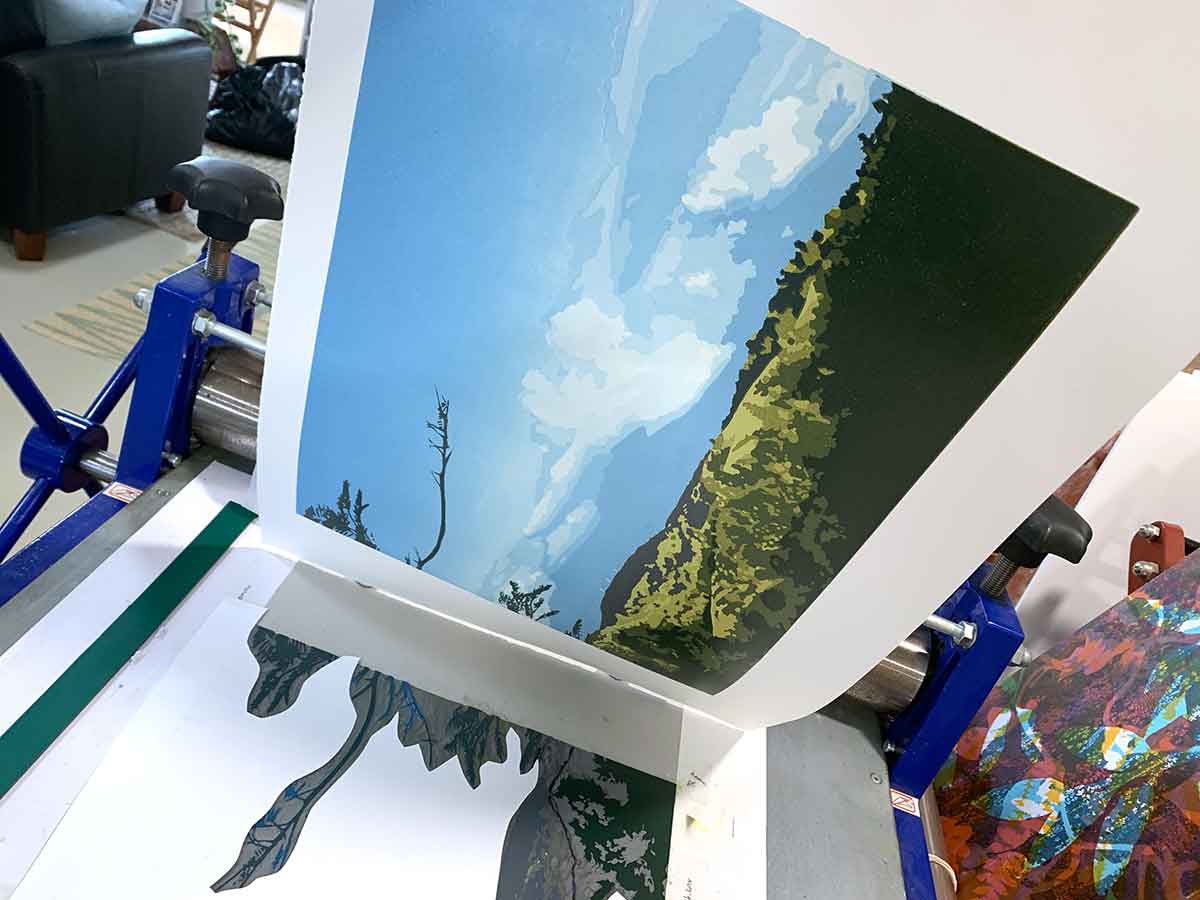
After some hours playing around with the photo on the computer, trimming printmaking paper and preparing the registration jig – I was ready to get into process.
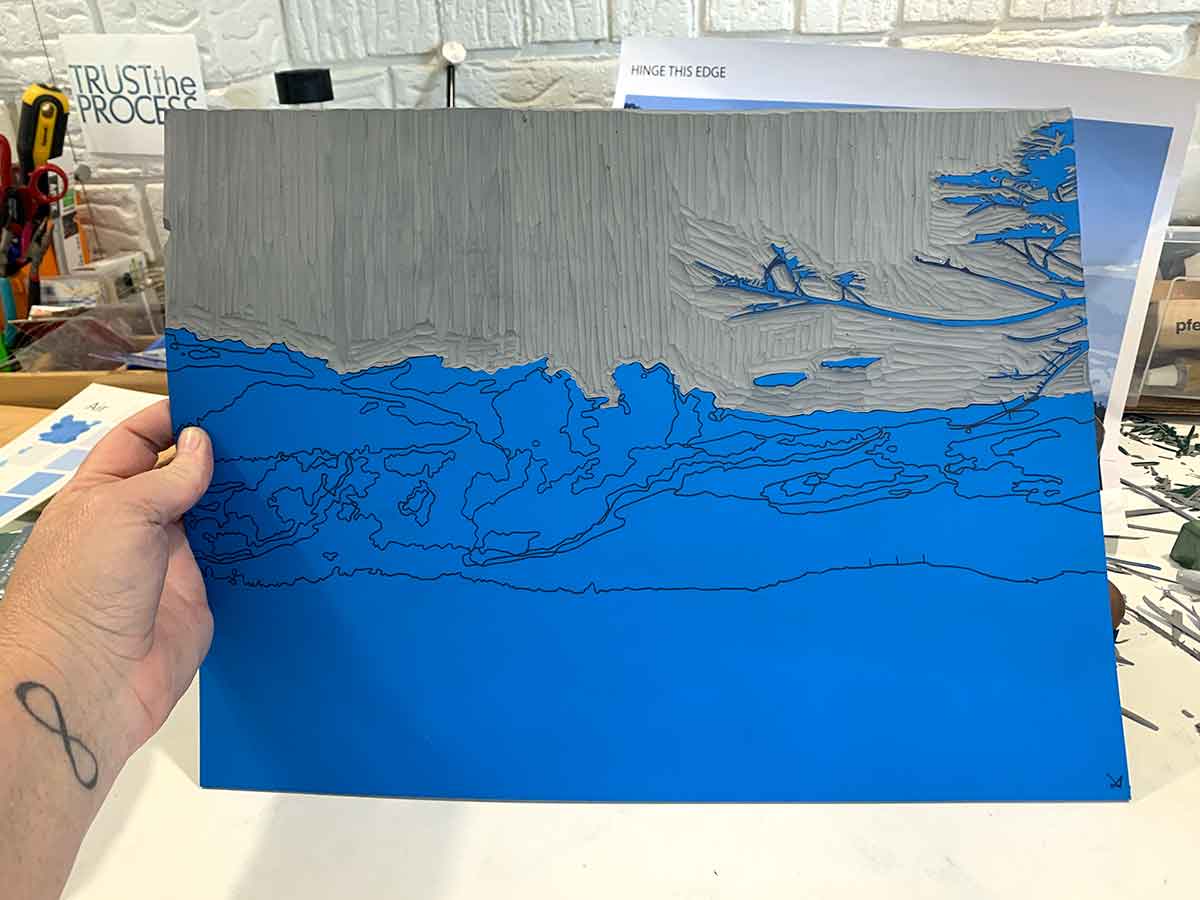
Once I have colours sorted, I trace key marks and lines of my image to the lino block. Then I’m ready to print.
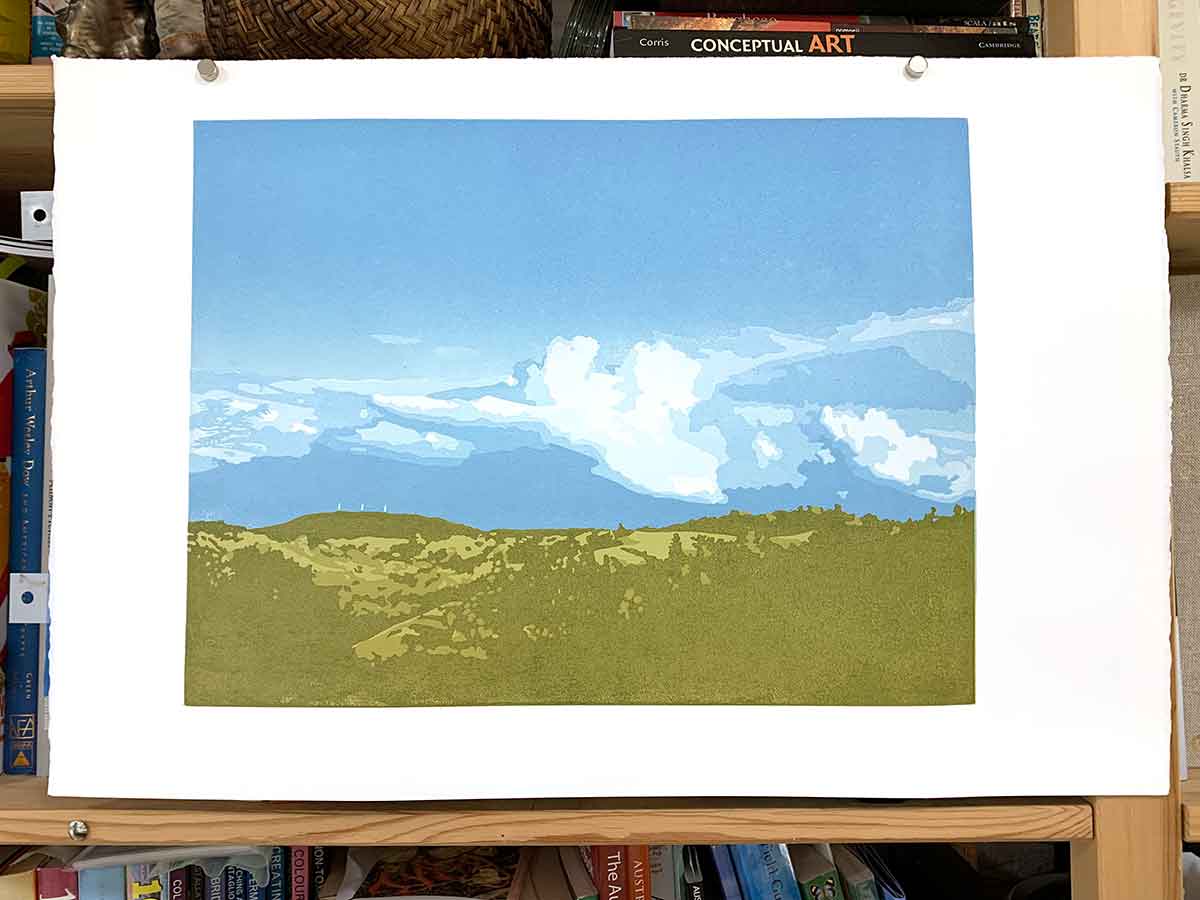
Layers 1–8 – the sky and clouds

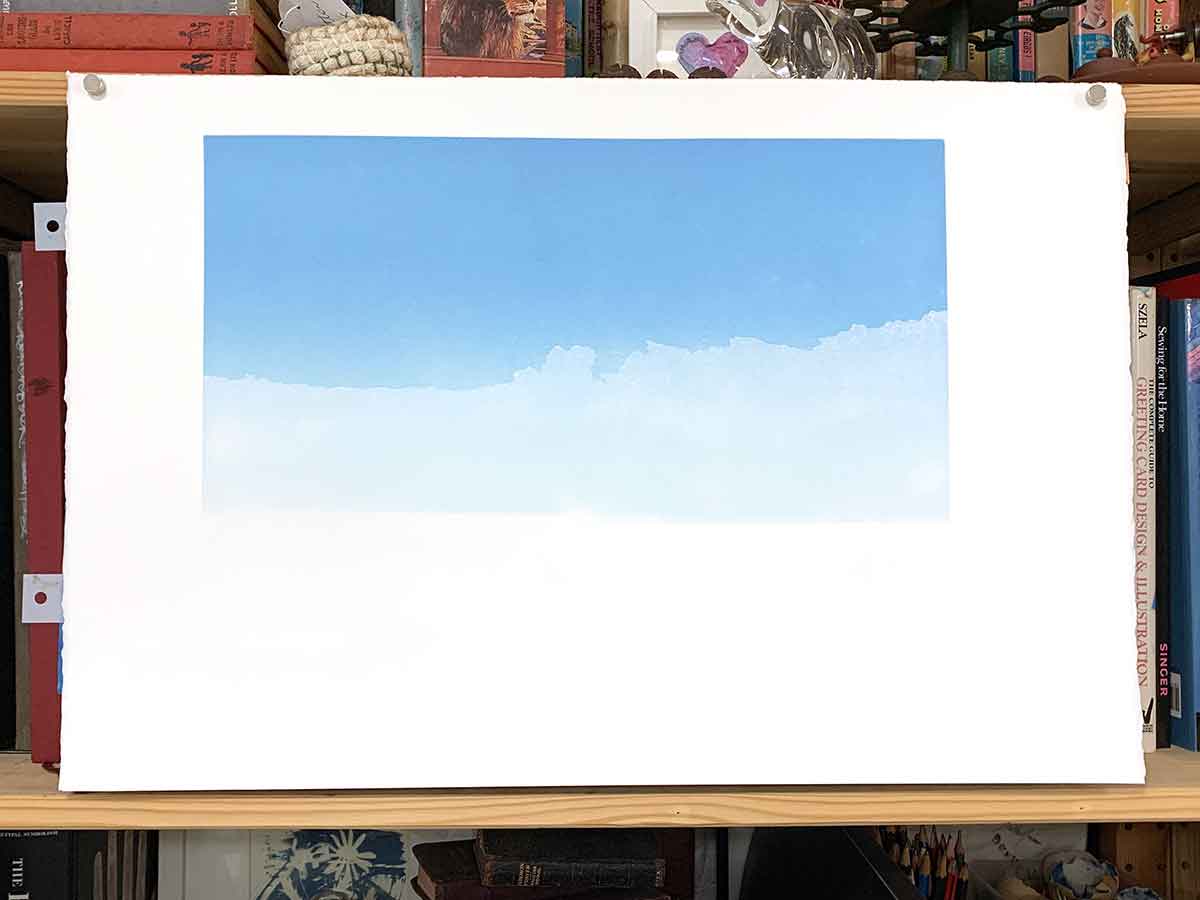
The first layer down was the sky above the clouds. A graduation in the blue. The graduation on the printed layer itself was strong – but I knew that once the clouds were printed, it would be very subtle(-ish), with the clouds covering most of the actual graduating colour area.
Once layer one was printed, I was ready to carve the sky away to reveal those fluffy cumulus clouds.
I deliberated about using a second block for the branches in the sky area on the left side of the image. I was thinking through which option would give me the better registration and clean printing options. I could rationalise approaching the problem both ways – multi-block versus a regular single block reduction linocut. I opted for NOT using a second block and carved the sky around the branches on that left side (of the block). I enjoyed the contrast of excavating the large sky area and carving the detail around the branches and leaves.
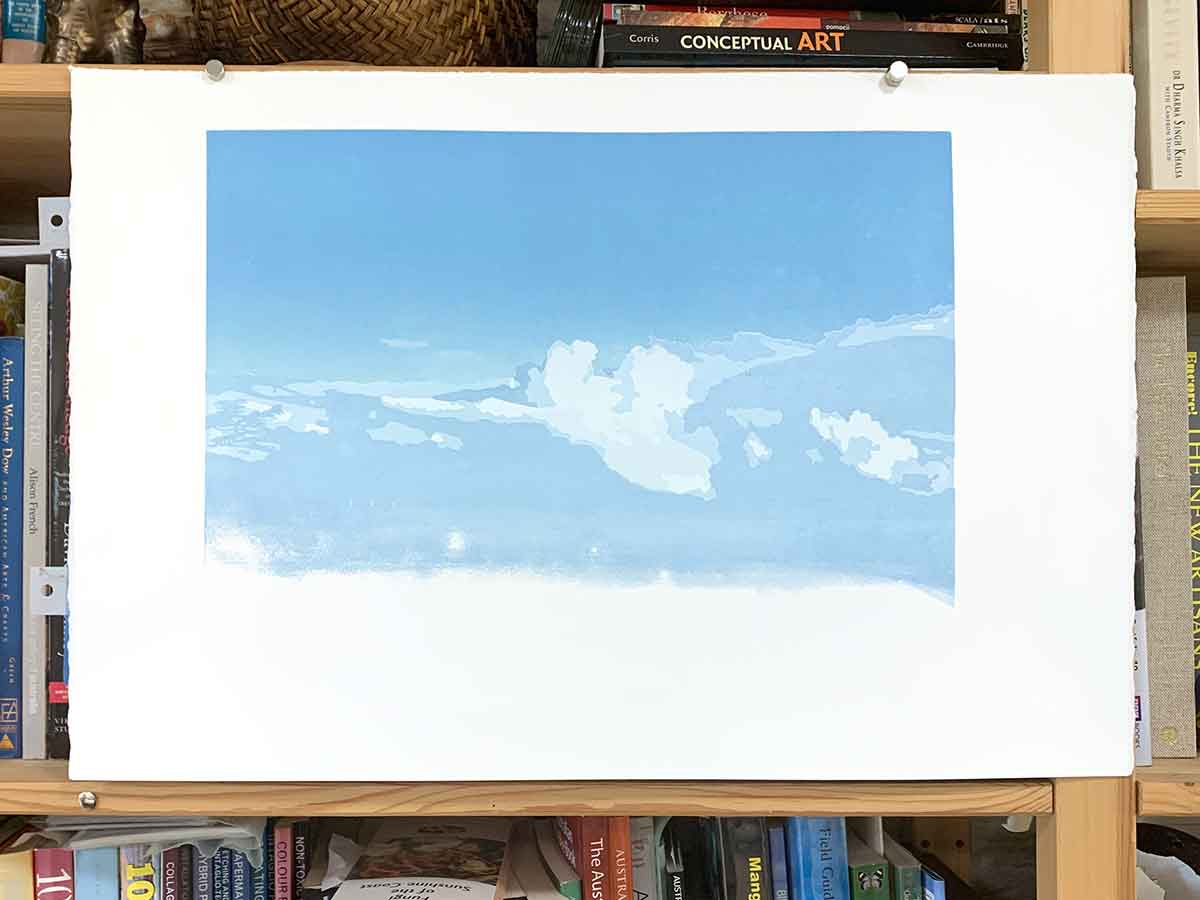
When printing the first of the cloud layers, I decided to print the first white twice. I wanted as bright a white as I could print, printing over that graduated sky blue. Part of me wished I had carved the white before printing the sky, but once you’re started your carving and printing, there’s no going back. The joys of reduction linocut 🙂
From here on in I used a paper mask for each printed layer. I cut the mask from cartridge paper (a heavy drawing paper), and create a new one with each layer. The mask makes sure I don’t get any ink marks where I don’t want them.
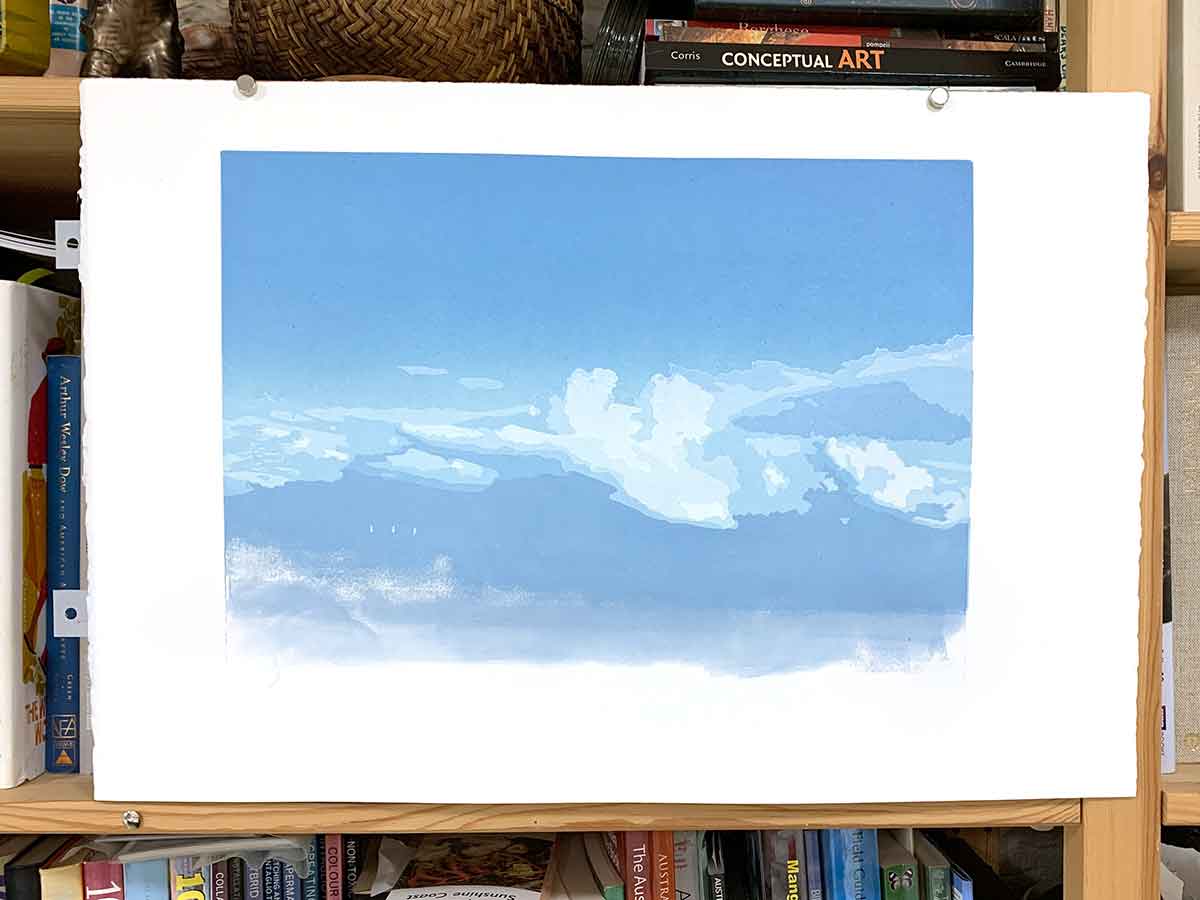
The clouds were printed over 6 layers.
Printmaking is an interesting craft – the process informs the end result. But when you’re knee deep in process it can be a nail-biting experience as each layer is printed, waiting for the final layer of each stage to reveal itself and either a) ta-daaa it worked! or b) hmmm, its not as I was expecting.
I was enjoying these cloud layers as they revealed themselves.
The final layer for the cloud stage of the print was quite a bold blue. It was dark under those clouds; broody as the formation grew.
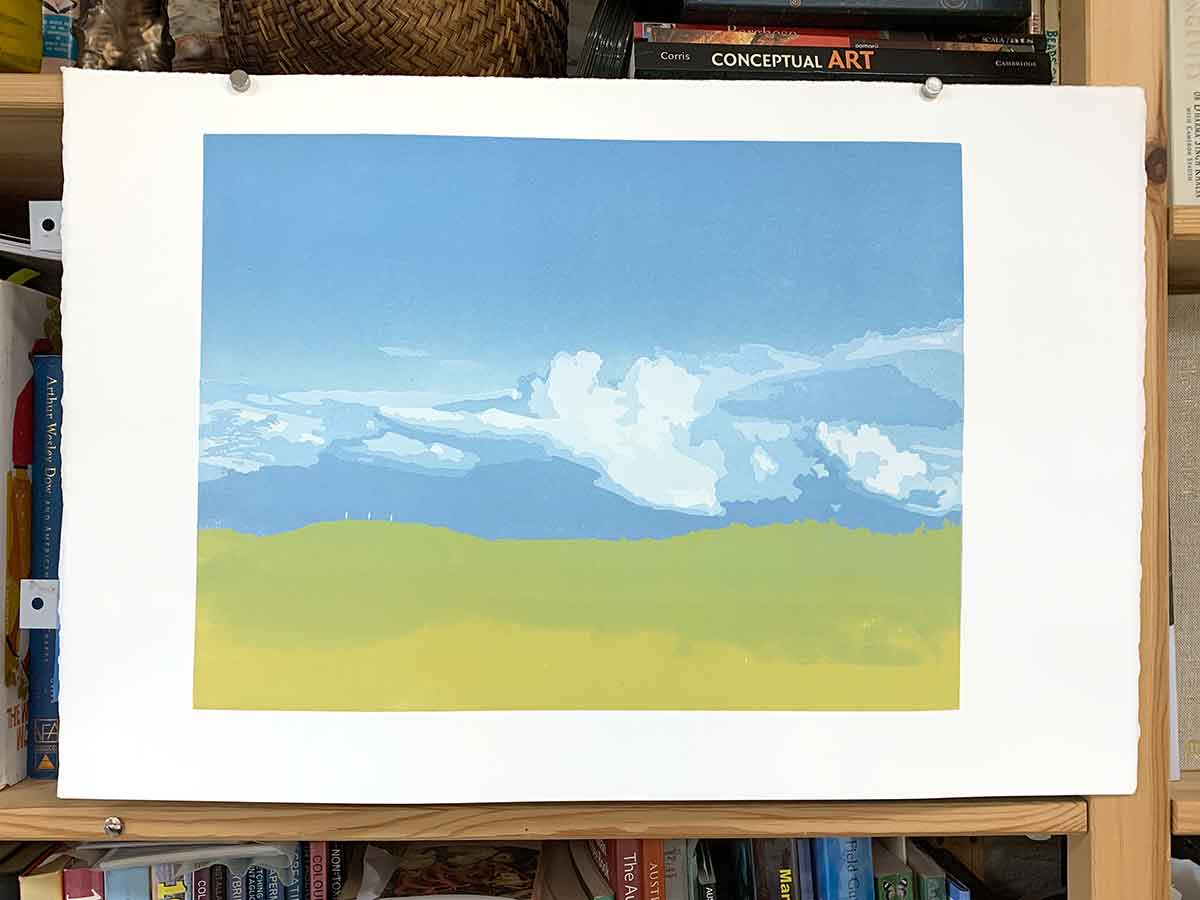
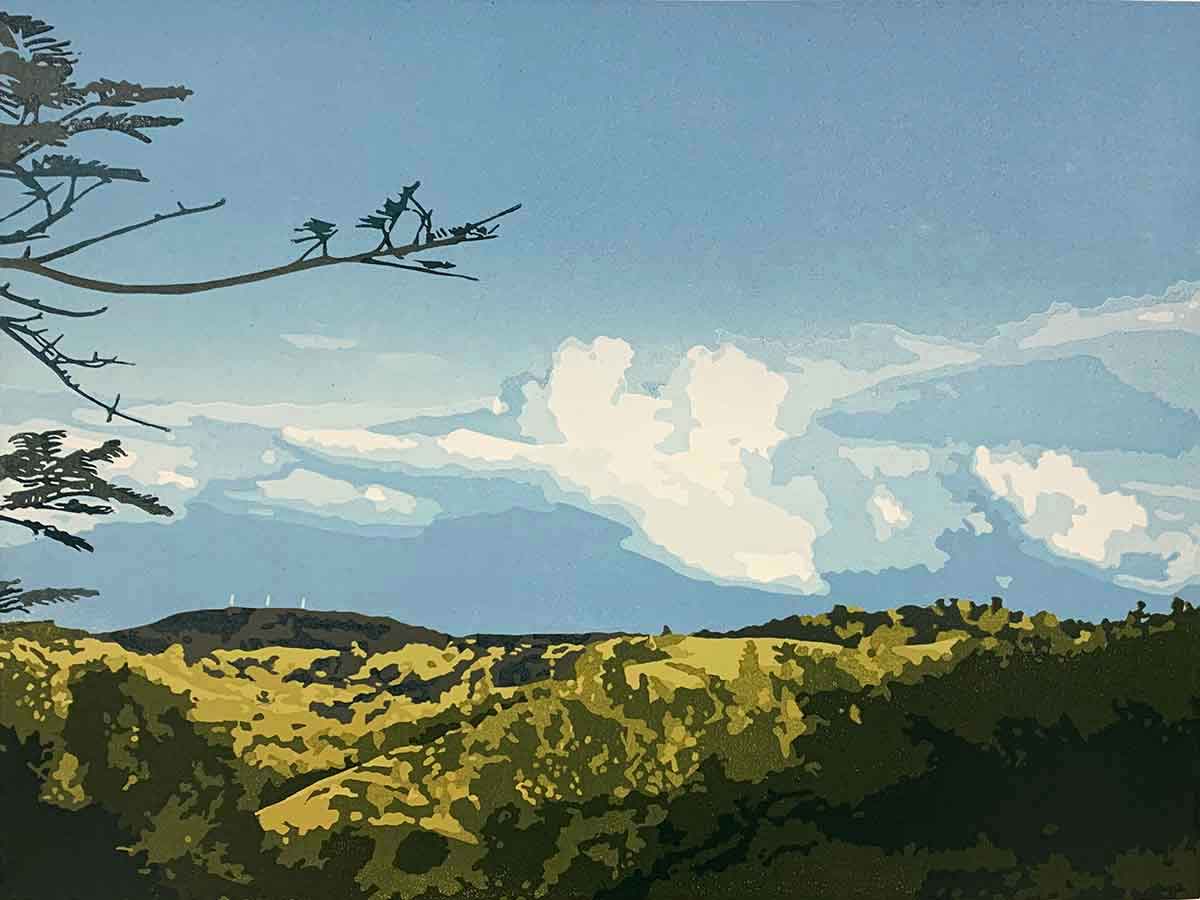
To create a good pop of afternoon-sun-kissed-green on the hills, I printed the first layer of land twice. You can see in layers 9 and 10 above how much of a difference printing a second hit of that one layer makes.
Layers 8-15 – the golden landscape
The late-afternoon colours of the grassy landscape glow a warm golden green when the setting sun faces the cloudy backdrop.
I adore those colours. And it was that golden glow that I was hoping to capture in the sun-kissed hills.
The land area was printed over 7 layers. Each layer darker than the previous, adding and revealing depth. Each layer adding to that nail-biting feeling of will it come together or not?
I feel like I am in a story as I print – reliving the memory of the moments when I took that photo. The time it takes to realise the final print affords me the luxury of lingering in those moments and memories.
The title ‘Eagles Nest’ relates to that dark hill on the left of the ridgeline. On it you can see towers. I am surrounded by natural beauty in the Sunshine Coast hinterland, where I live. Man-made structures dot the landscape, no matter how open and wide it is. I’m enjoying printing my landscape linocuts with their big fluffy cumulus clouds, and with this print noticed the addition of something man-made.
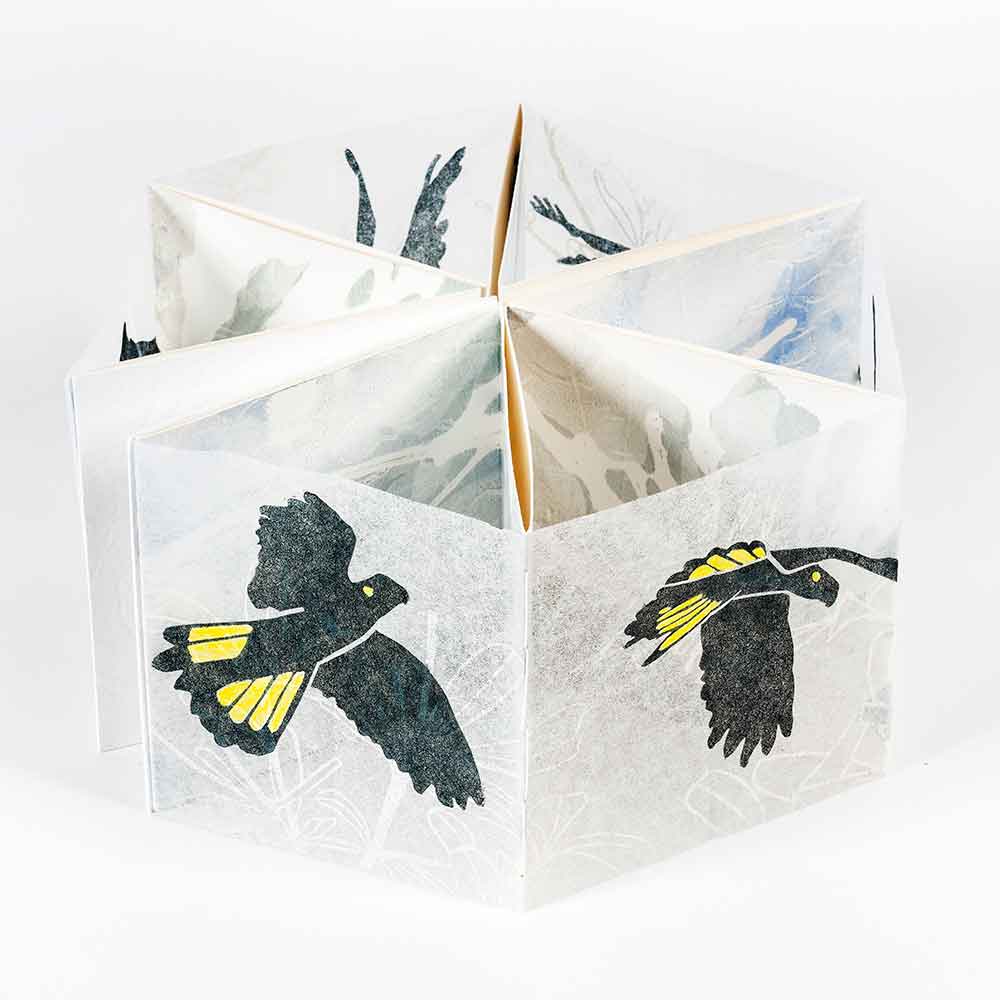
In Eagles Nest, it is those three towers. In Nearly Home, my previous print, is the wheely bin in the bottom left corner. In The long way home, its the letterbox in the bottom left corner.
‘Eagles Nest’ reduction linocut print technical Information
Print process – reduction linocut print
Edition Size – a limited edition of 8 prints plus one (1) Artist Proofs and one (1) Hors de Commerce
Layers – 15
Inks – Sakura oil based inks
Paper – 300gsm Arches 88
Image size – 40cm x 30cm
Tools – Pfeil carving tools
Printed – I printed this print with both with my press and trusty glass Print Frog barren
Are you interested in buying this print?
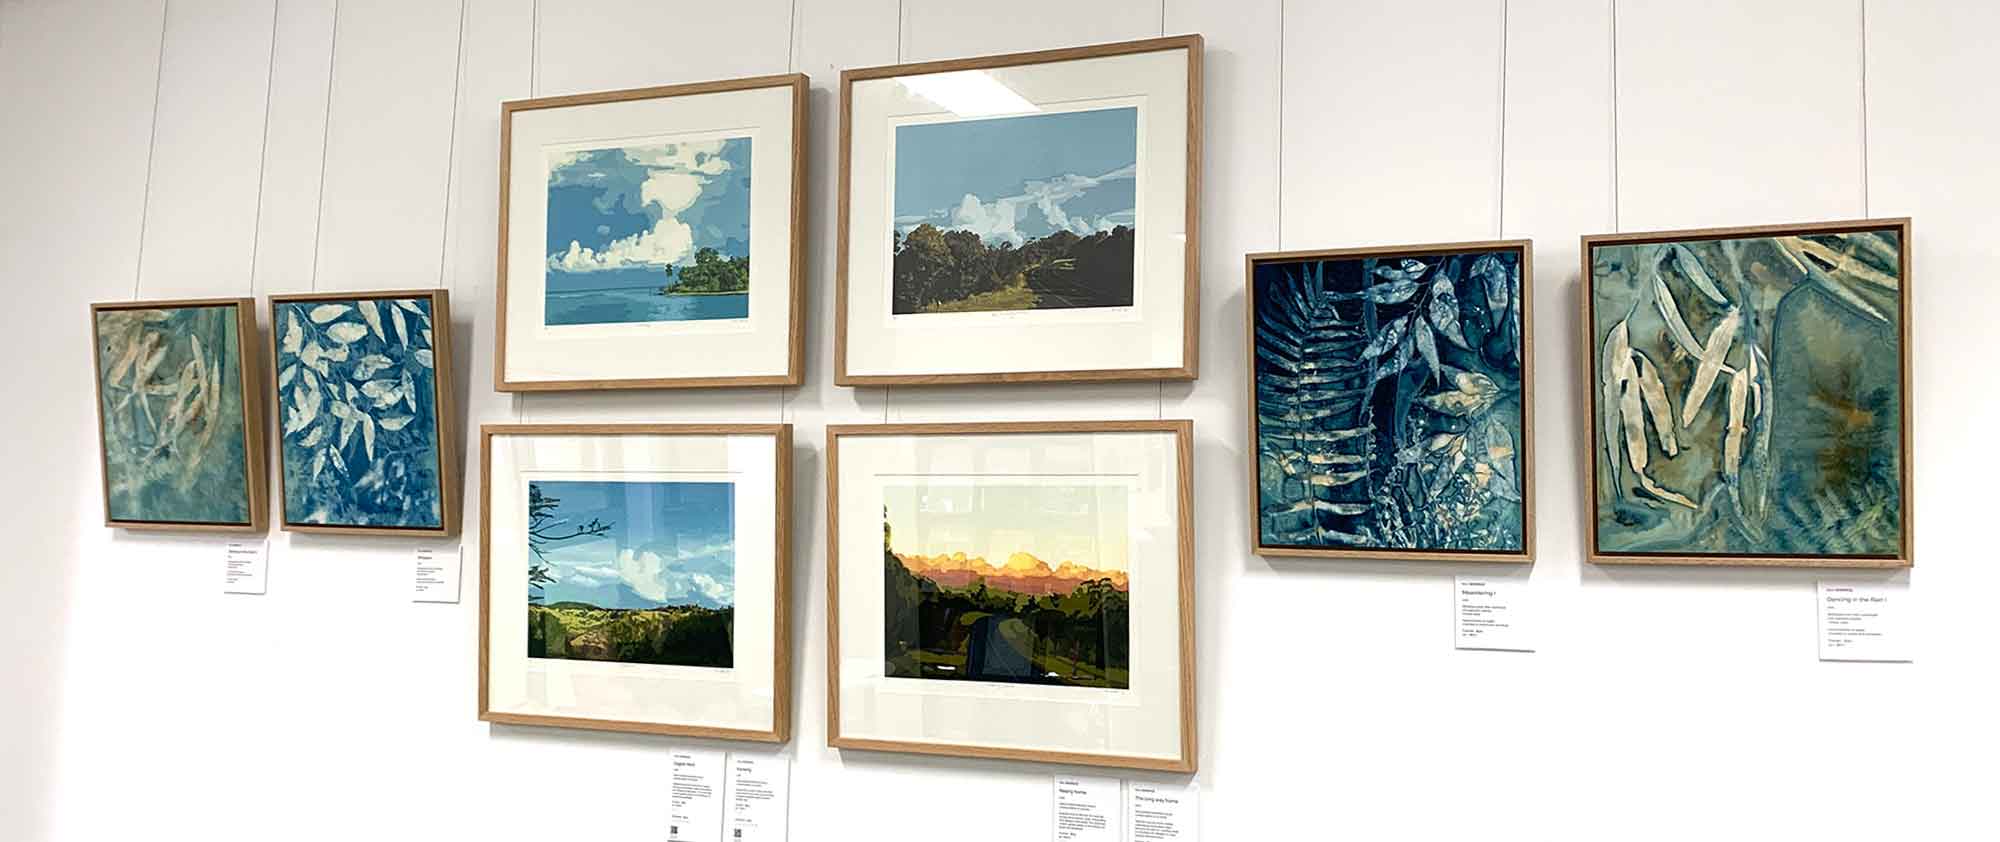
The print isavailable framed and unframed at the Montville Art Gallery.
I also have a few unframed prints available via my website shop.

